Methods in Spatial Research Spring 2021
Working with data from the U.S. Census
This brief tutorial will outline how to download data from the U.S. Census Bureau for use in a GIS software. The same process can be followed for data from the American Community Survey and from the Decennial Census.
This process involves two main steps:
- extracting tabular data (spreadsheet) for the specific variables, survey, and year you are interested in
- joining this data to the appropriate census boundary files
Accessing & downloading tabular census data
Visit data.census.gov to download data from the U.S. Census Bureau.
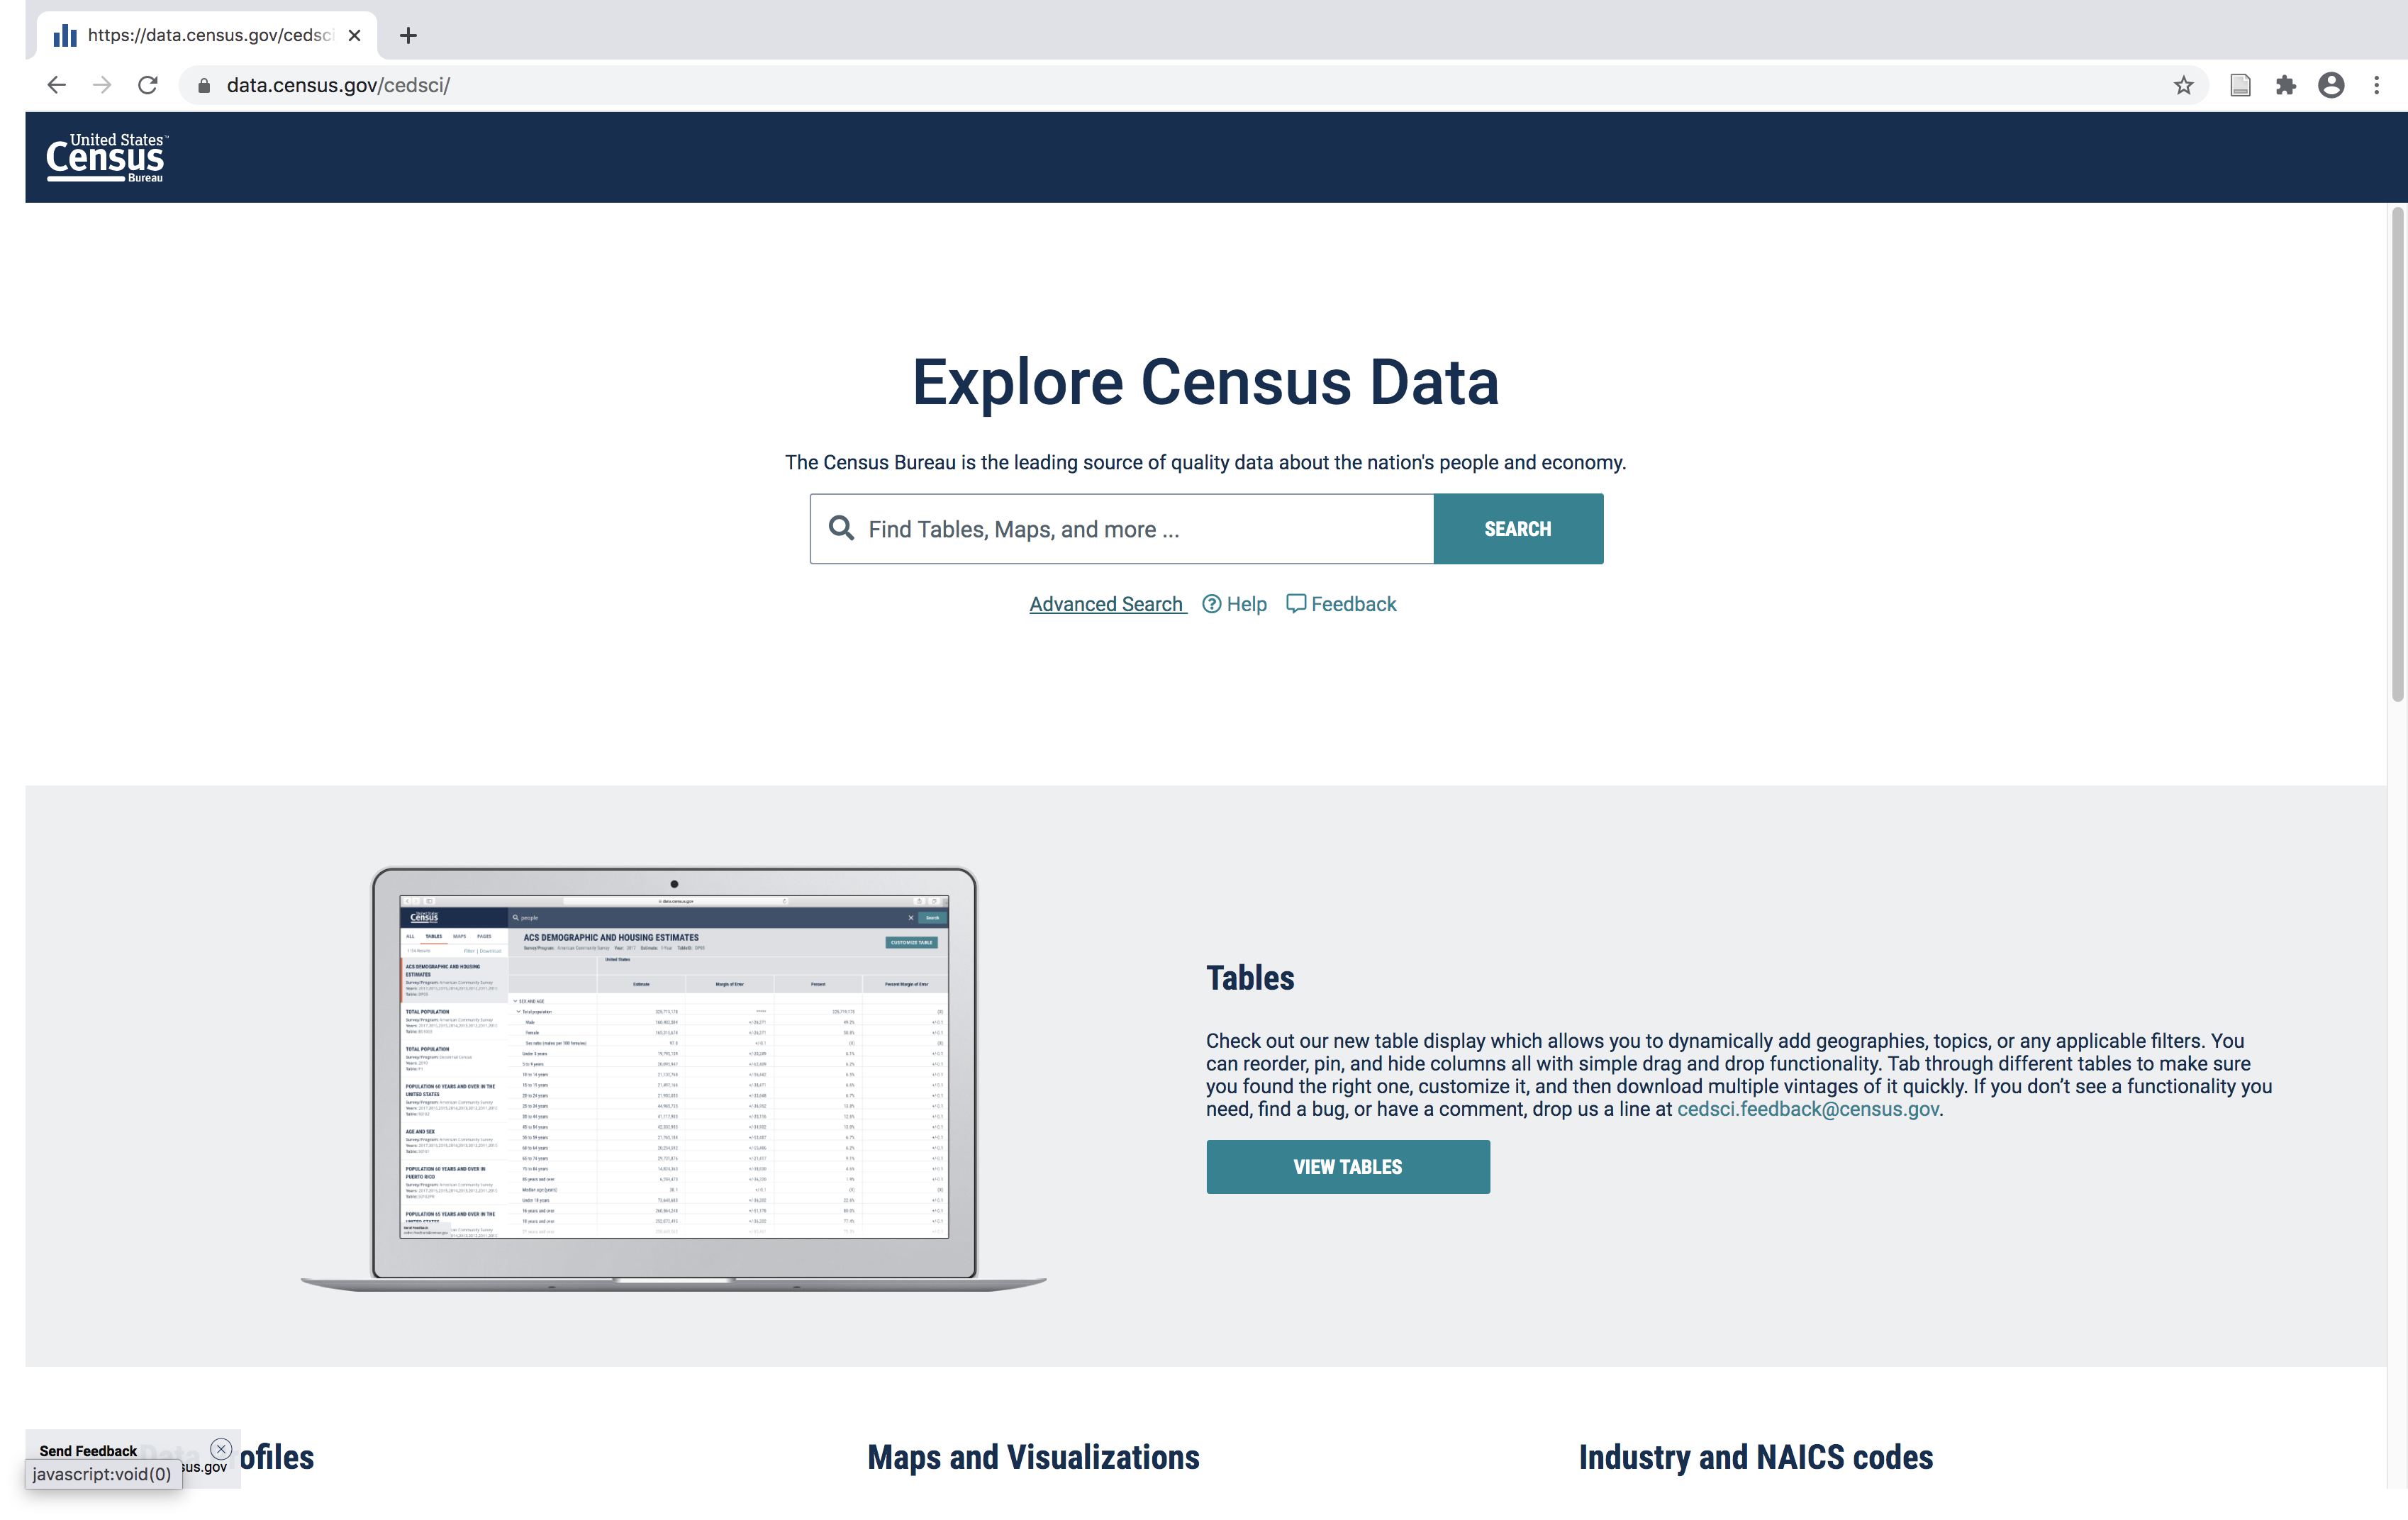
Select Advanced Search
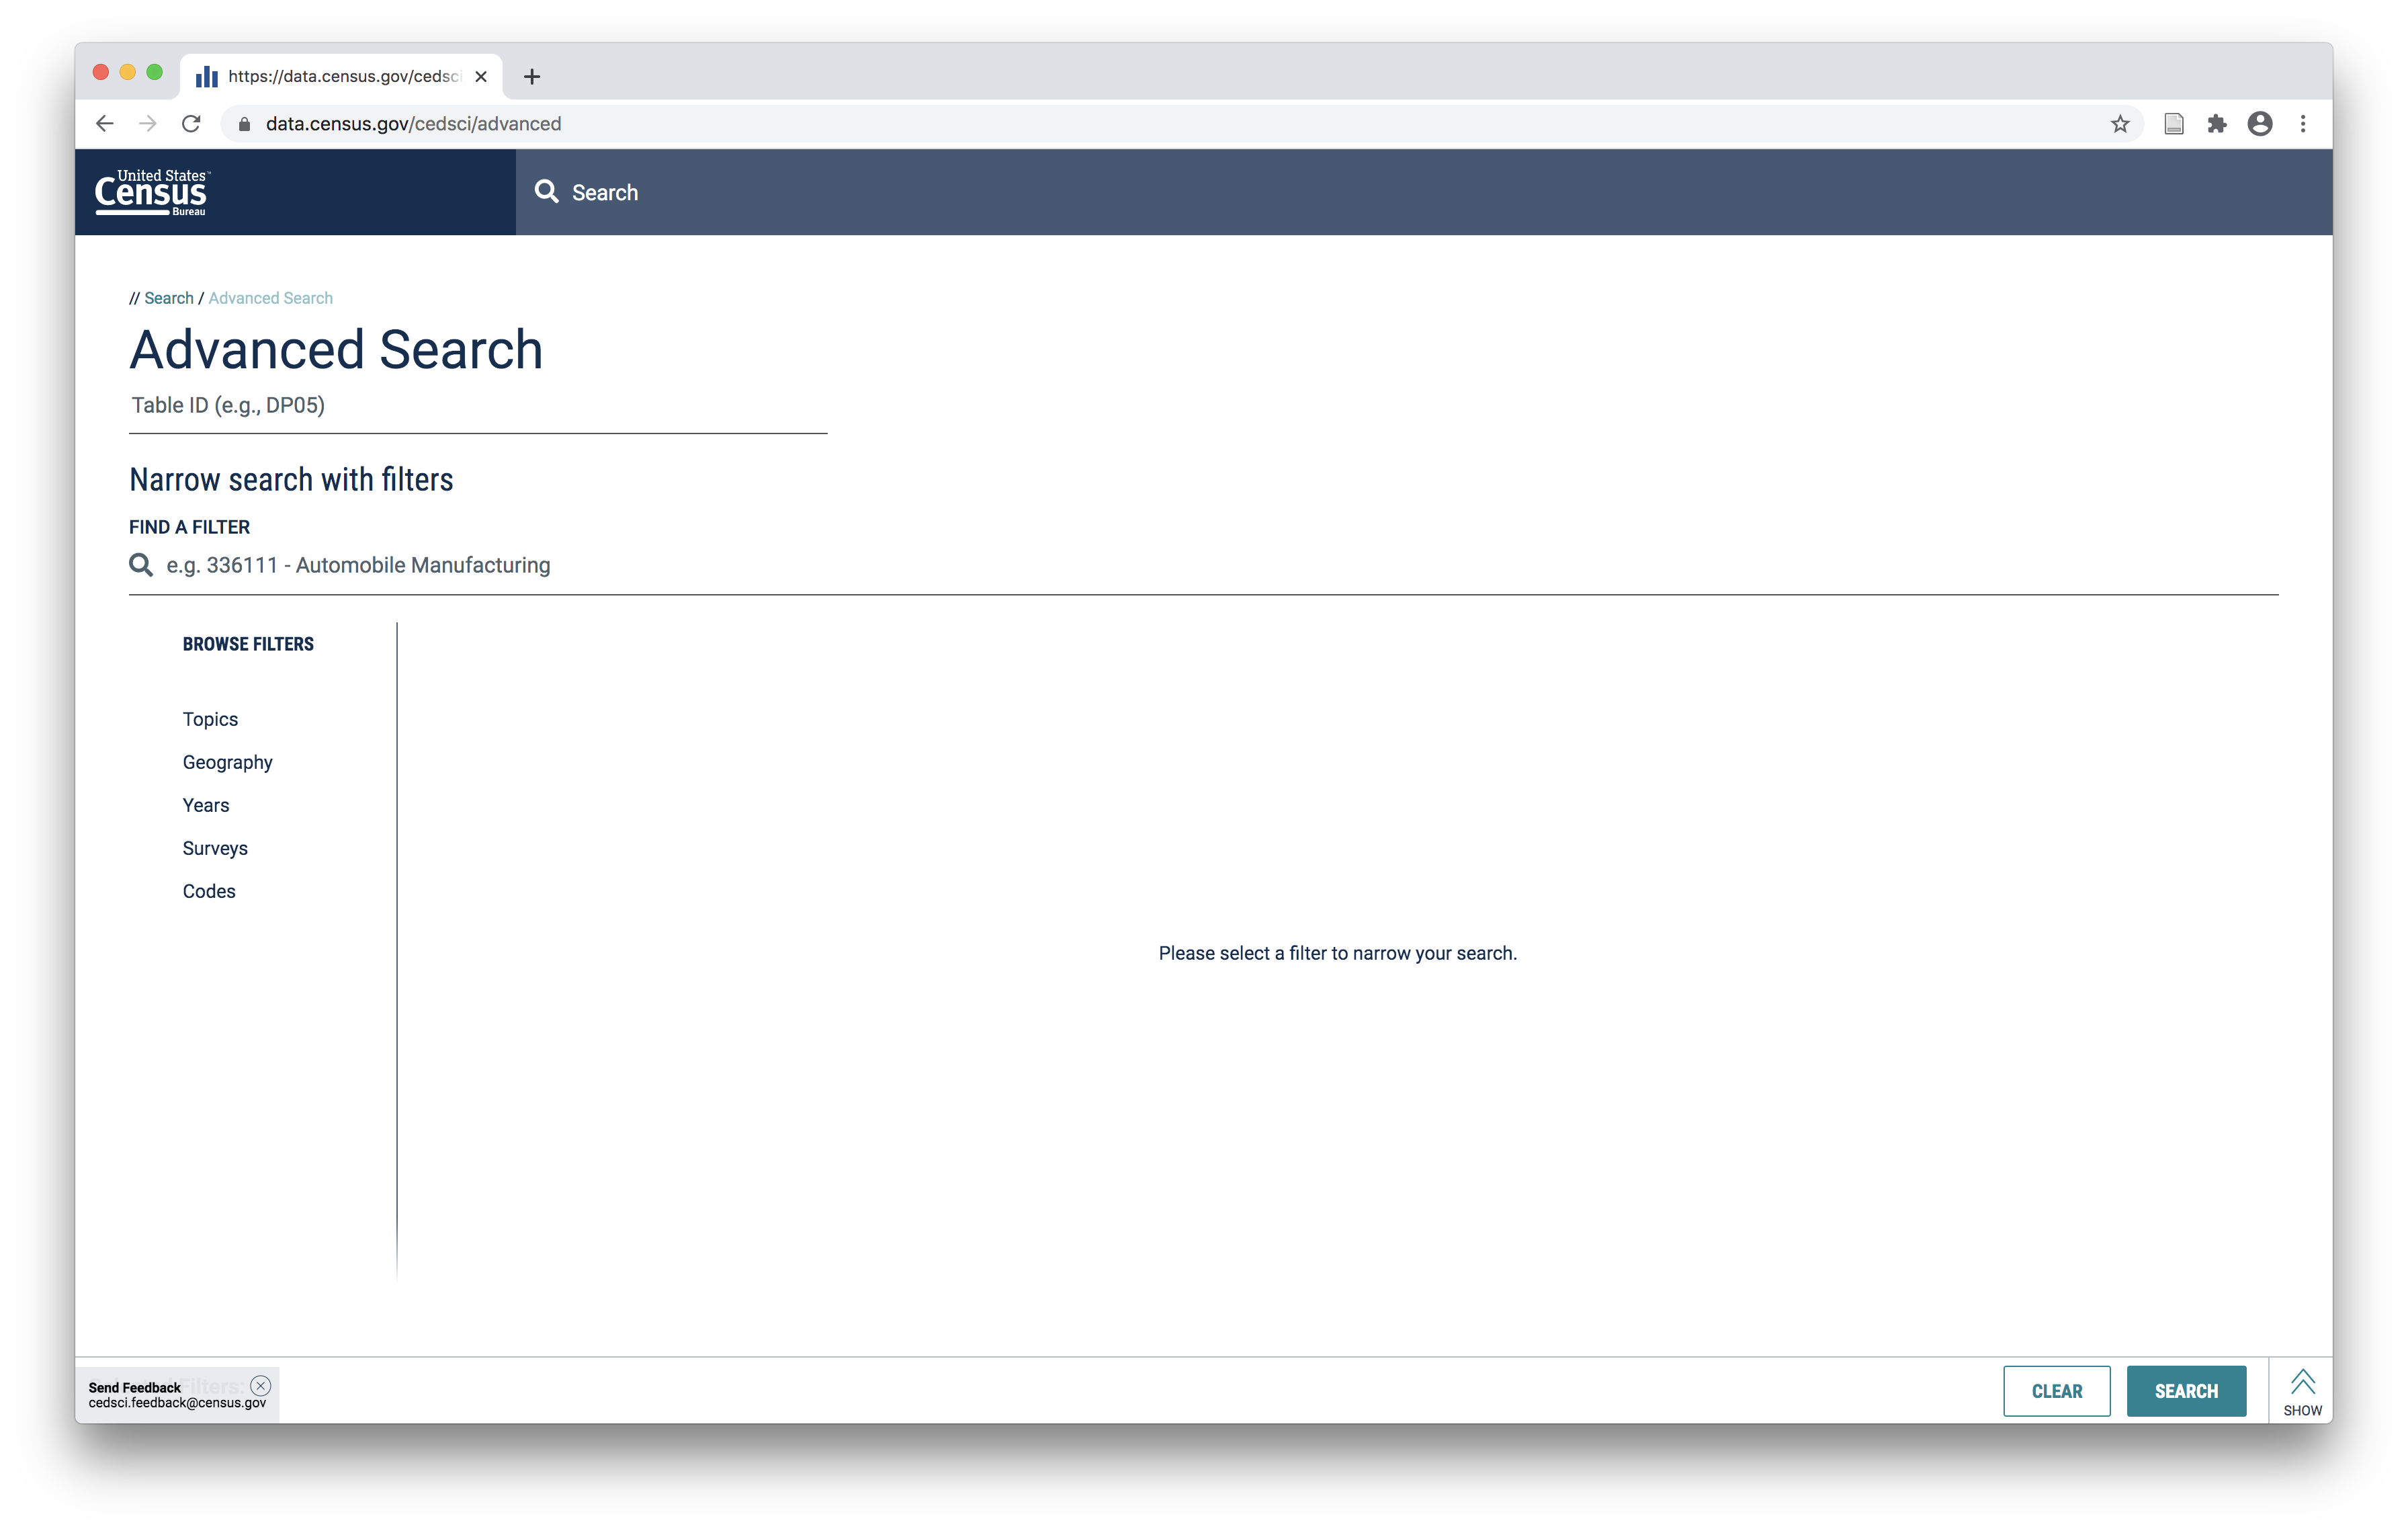
Use the filters to search for the specific dataset you are interested in finding.
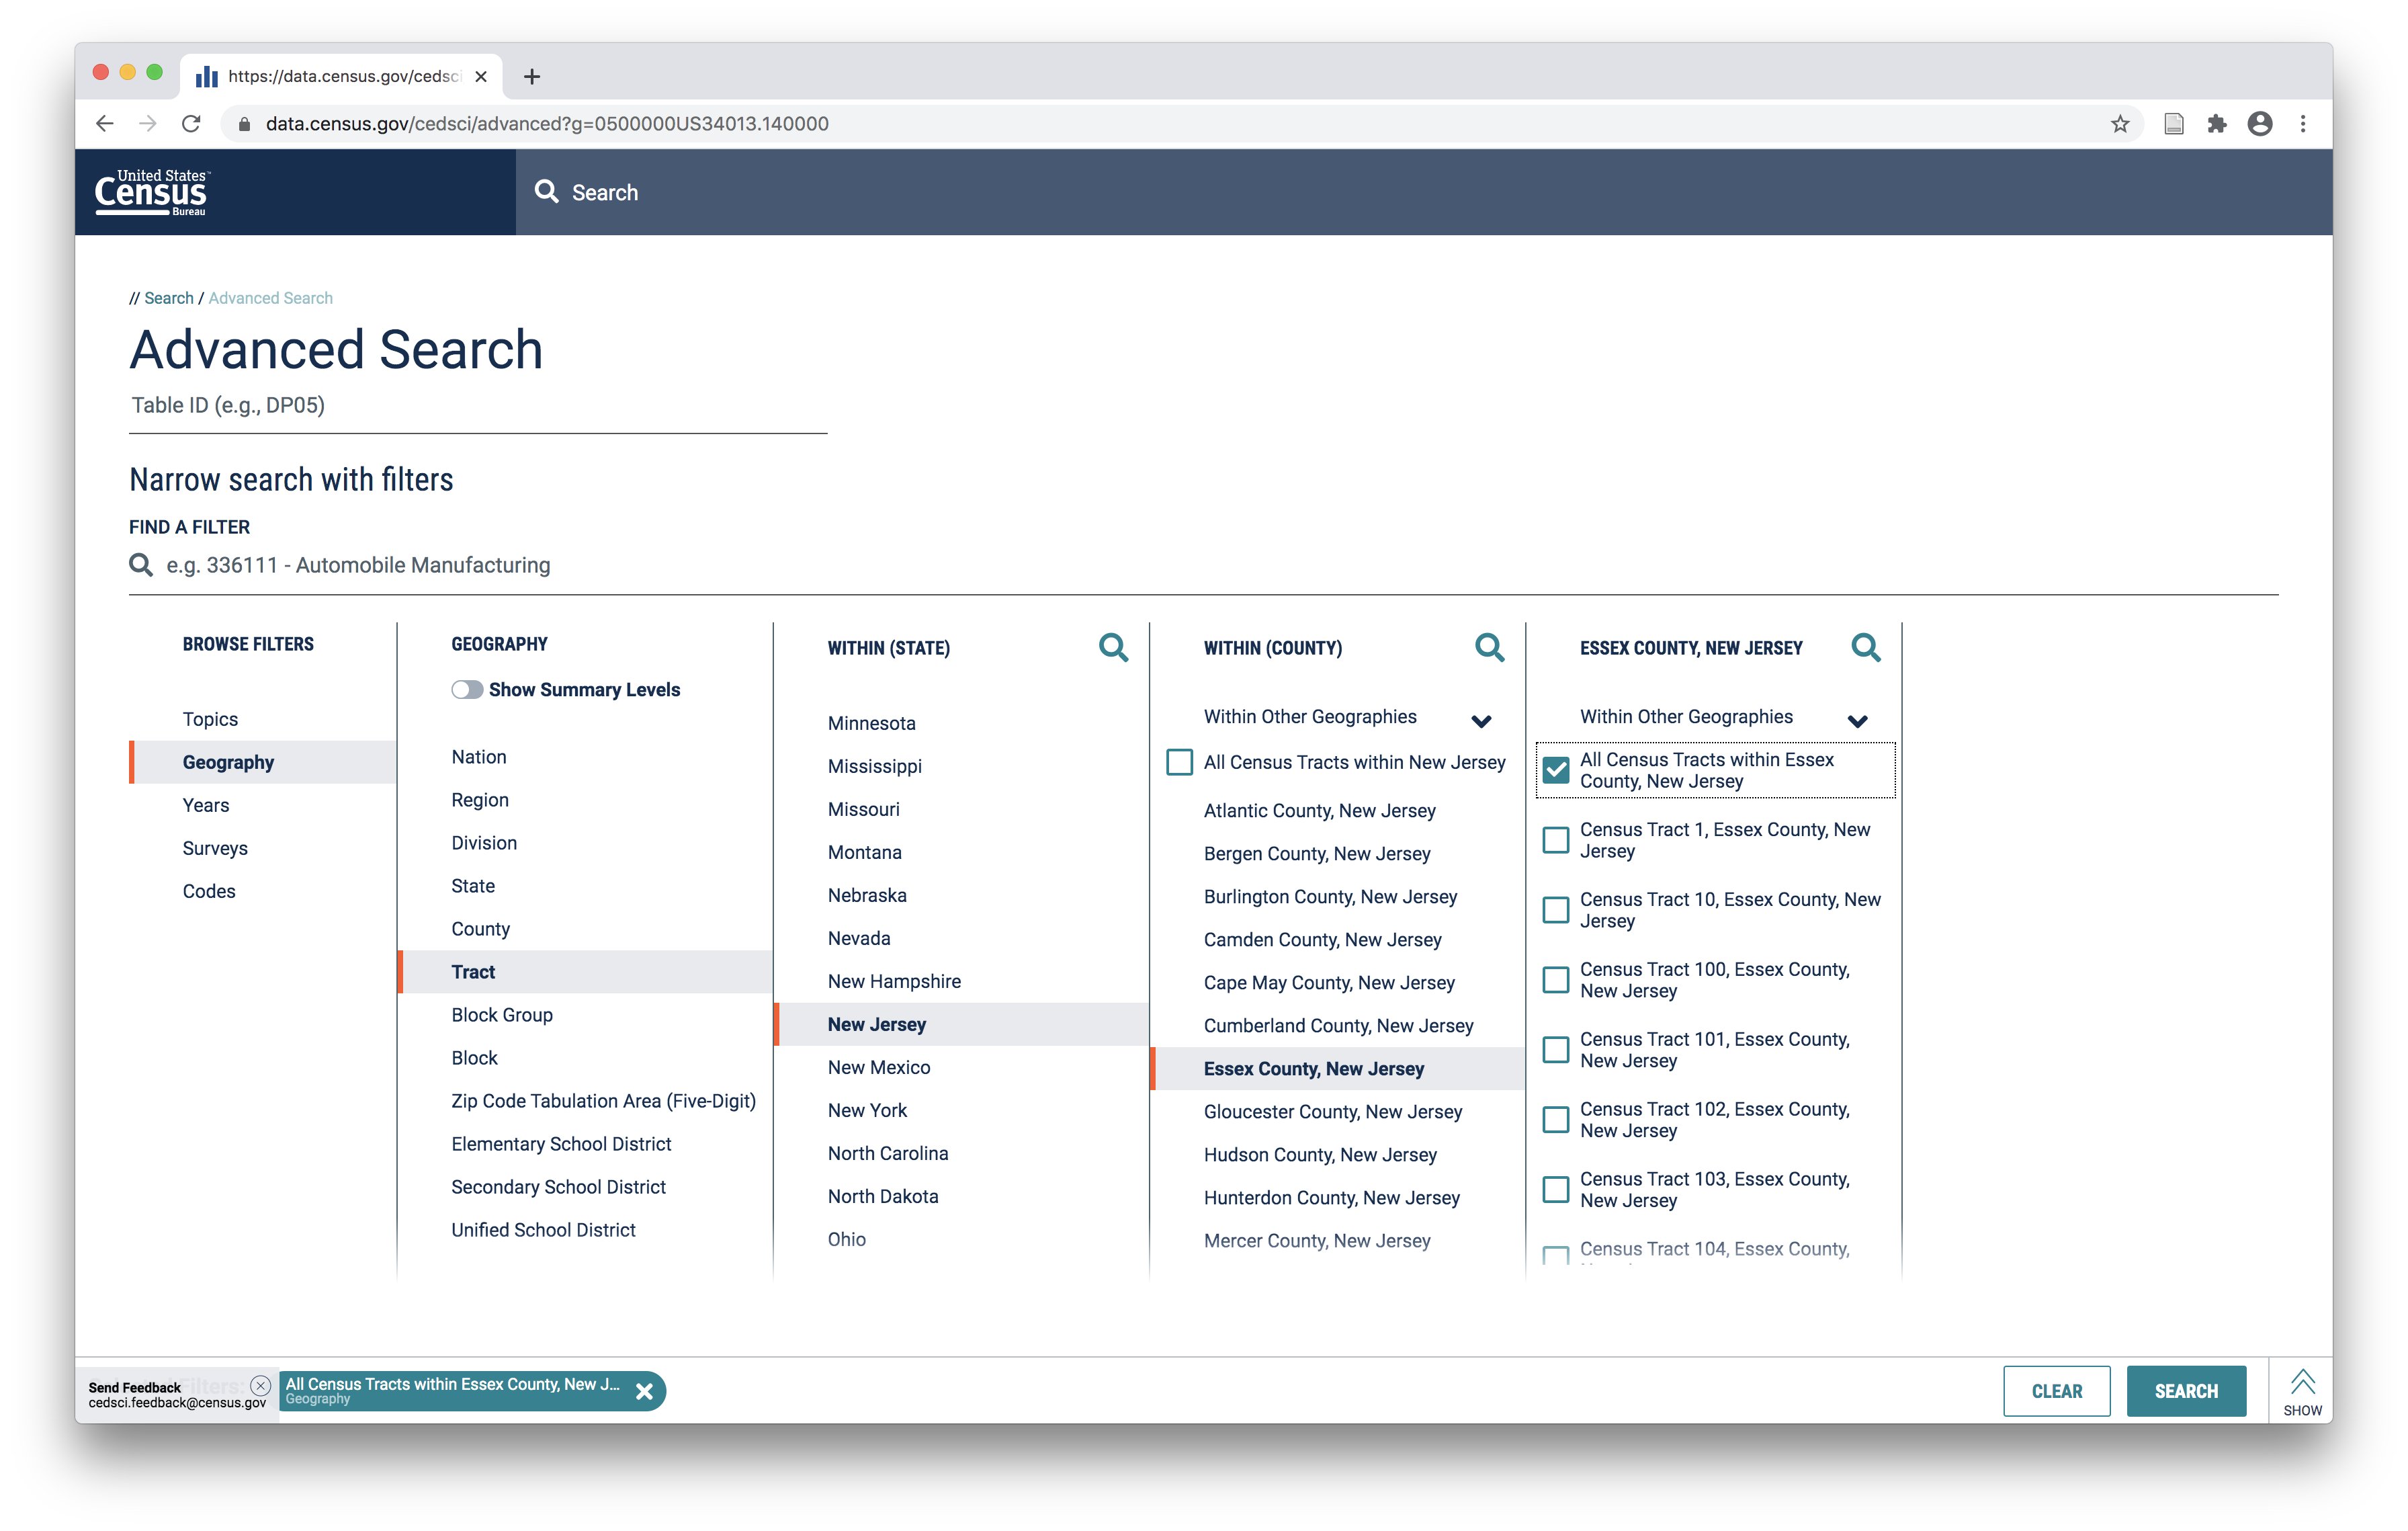
An important thing to note here is that not all tables/variables from the Census Bureau are available for all geographies. So when searching for information that you hope to be able to map it is often advisable to select the ‘geography’ you are interested in first.
For example, below I have selected all census tracts for Essex County in New Jersey.
As a general note: information about total population from either the ACS or the Decennial Census is usually available at the census block level as are certain other demographic characteristics. However other more specific variables from the American Community Survey (for example, housing tenure, income information, etc) tend to only be available at the tract level.
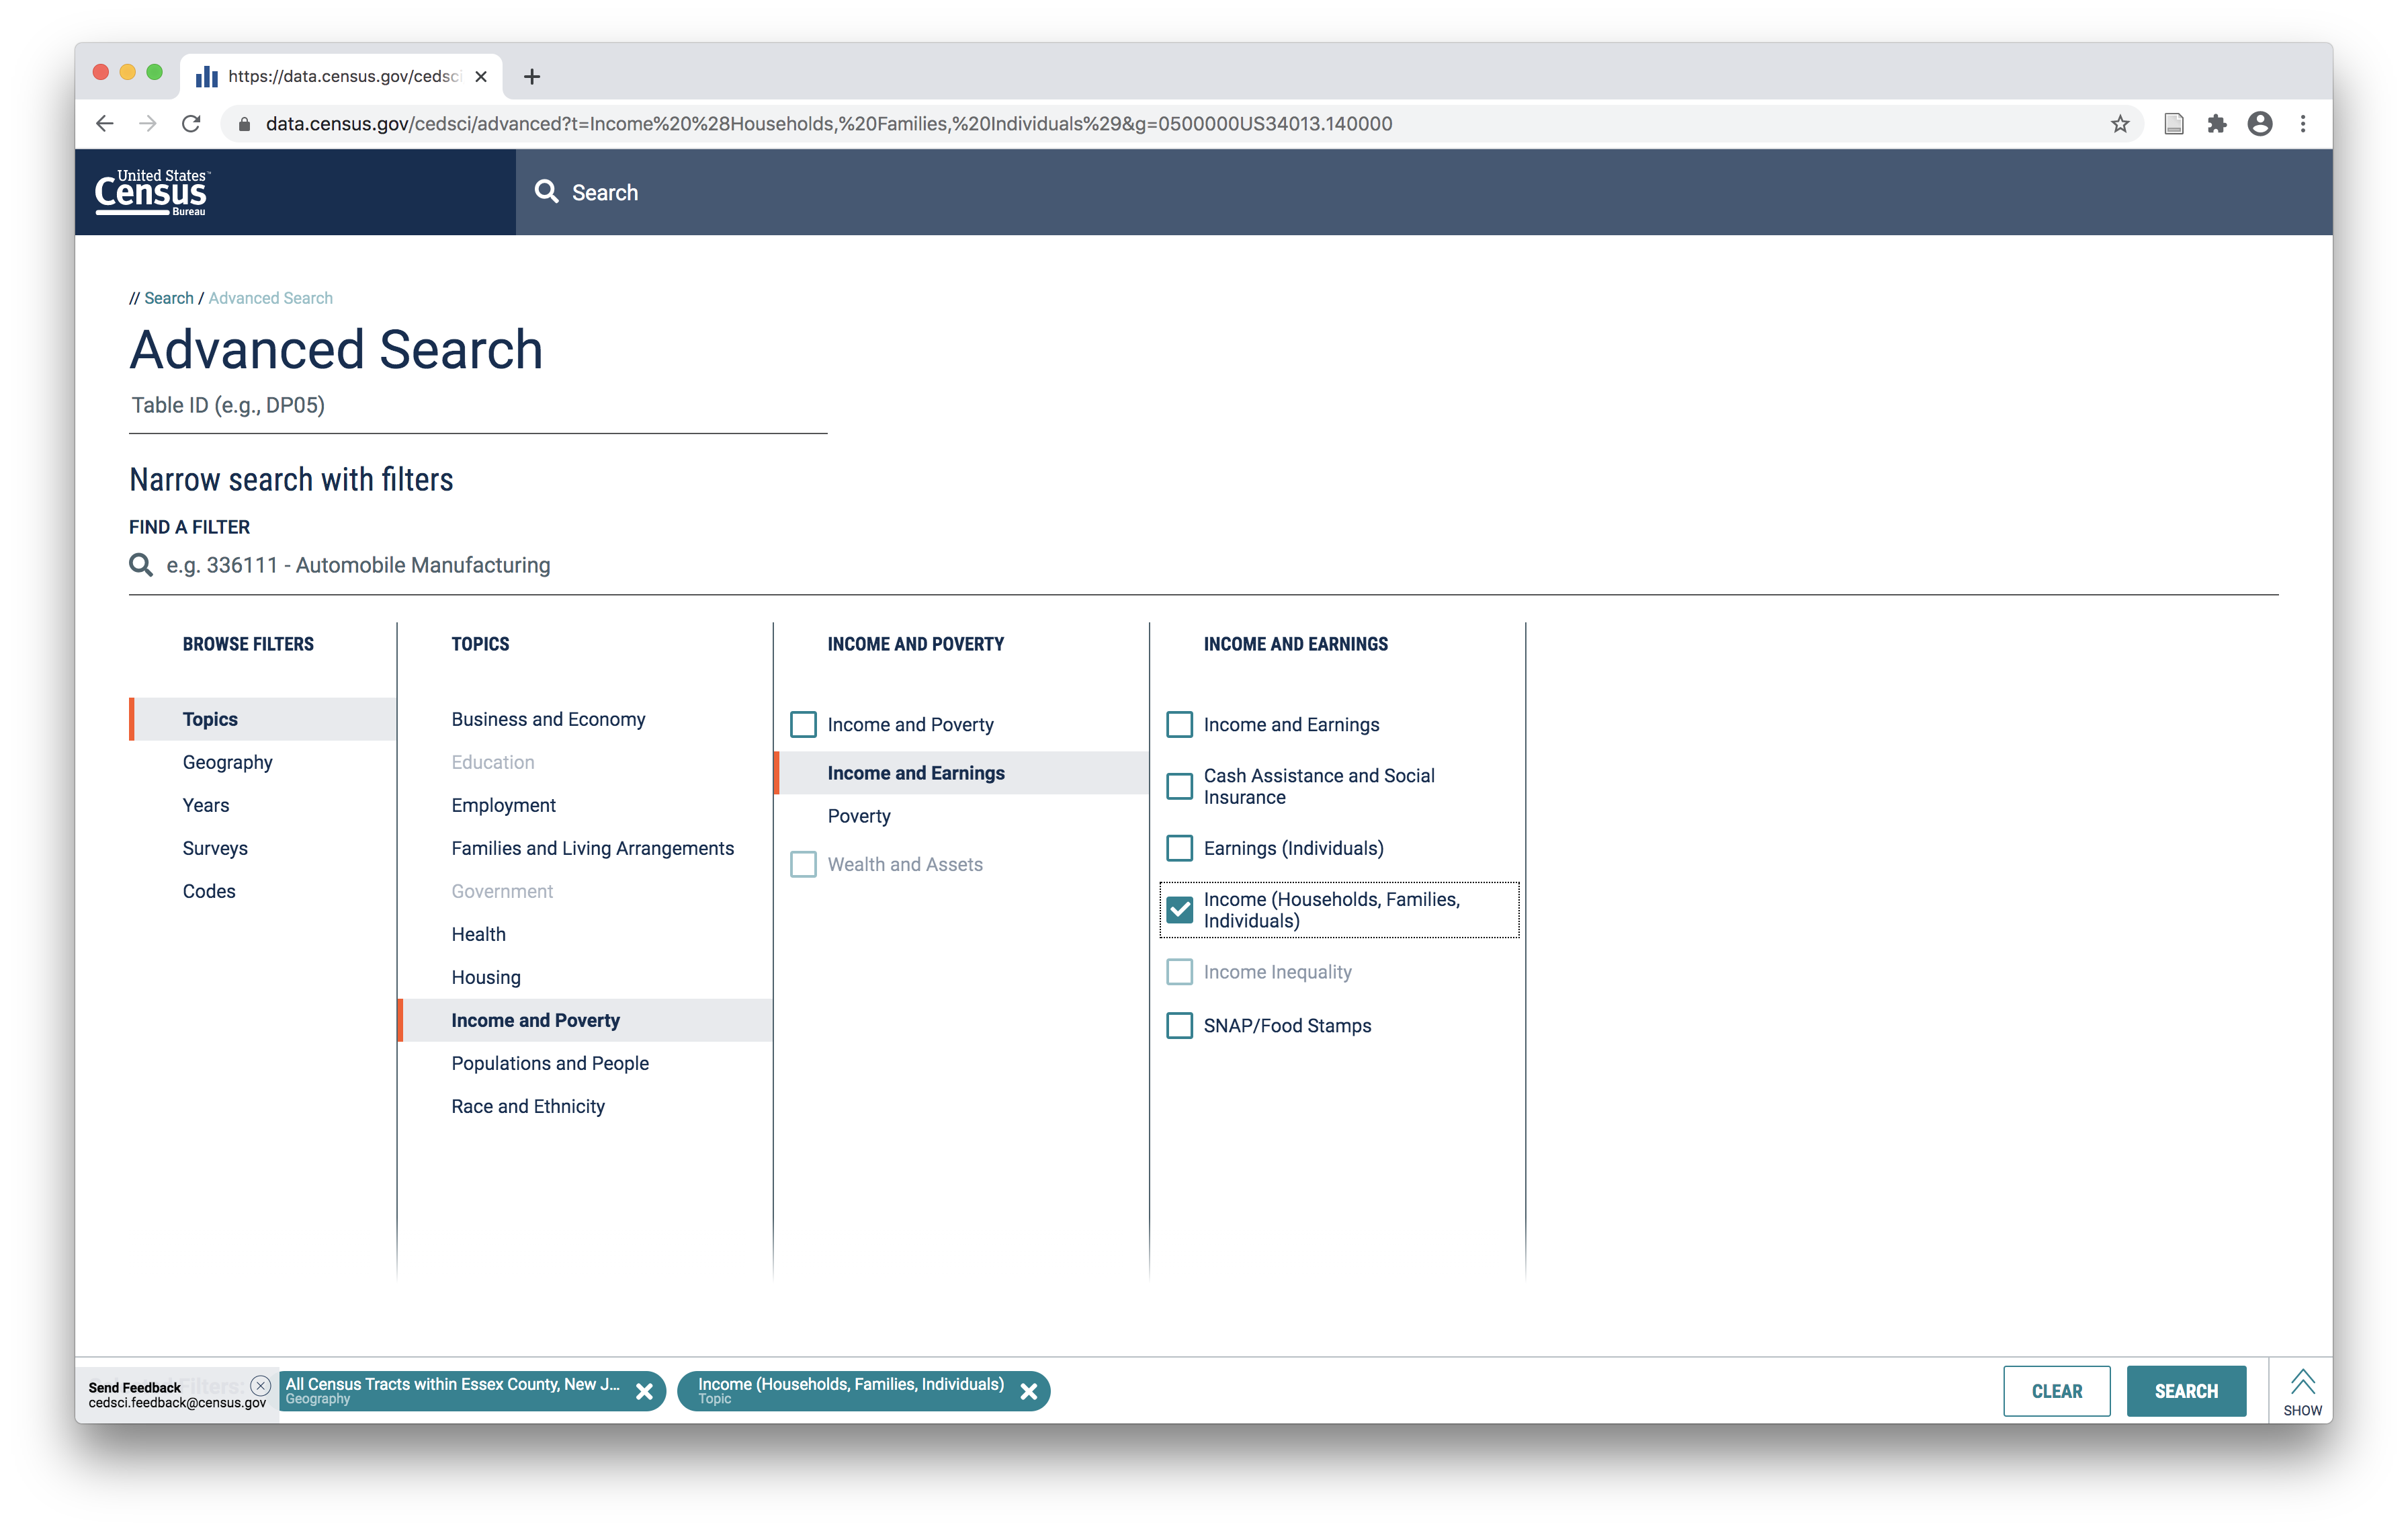
After selecting the geography you are interested in you can proceed to select the topics you are searching for. In this example I will look for median income:
Then I will select 2018 as the year I am interested in (if you would like the same dataset ):
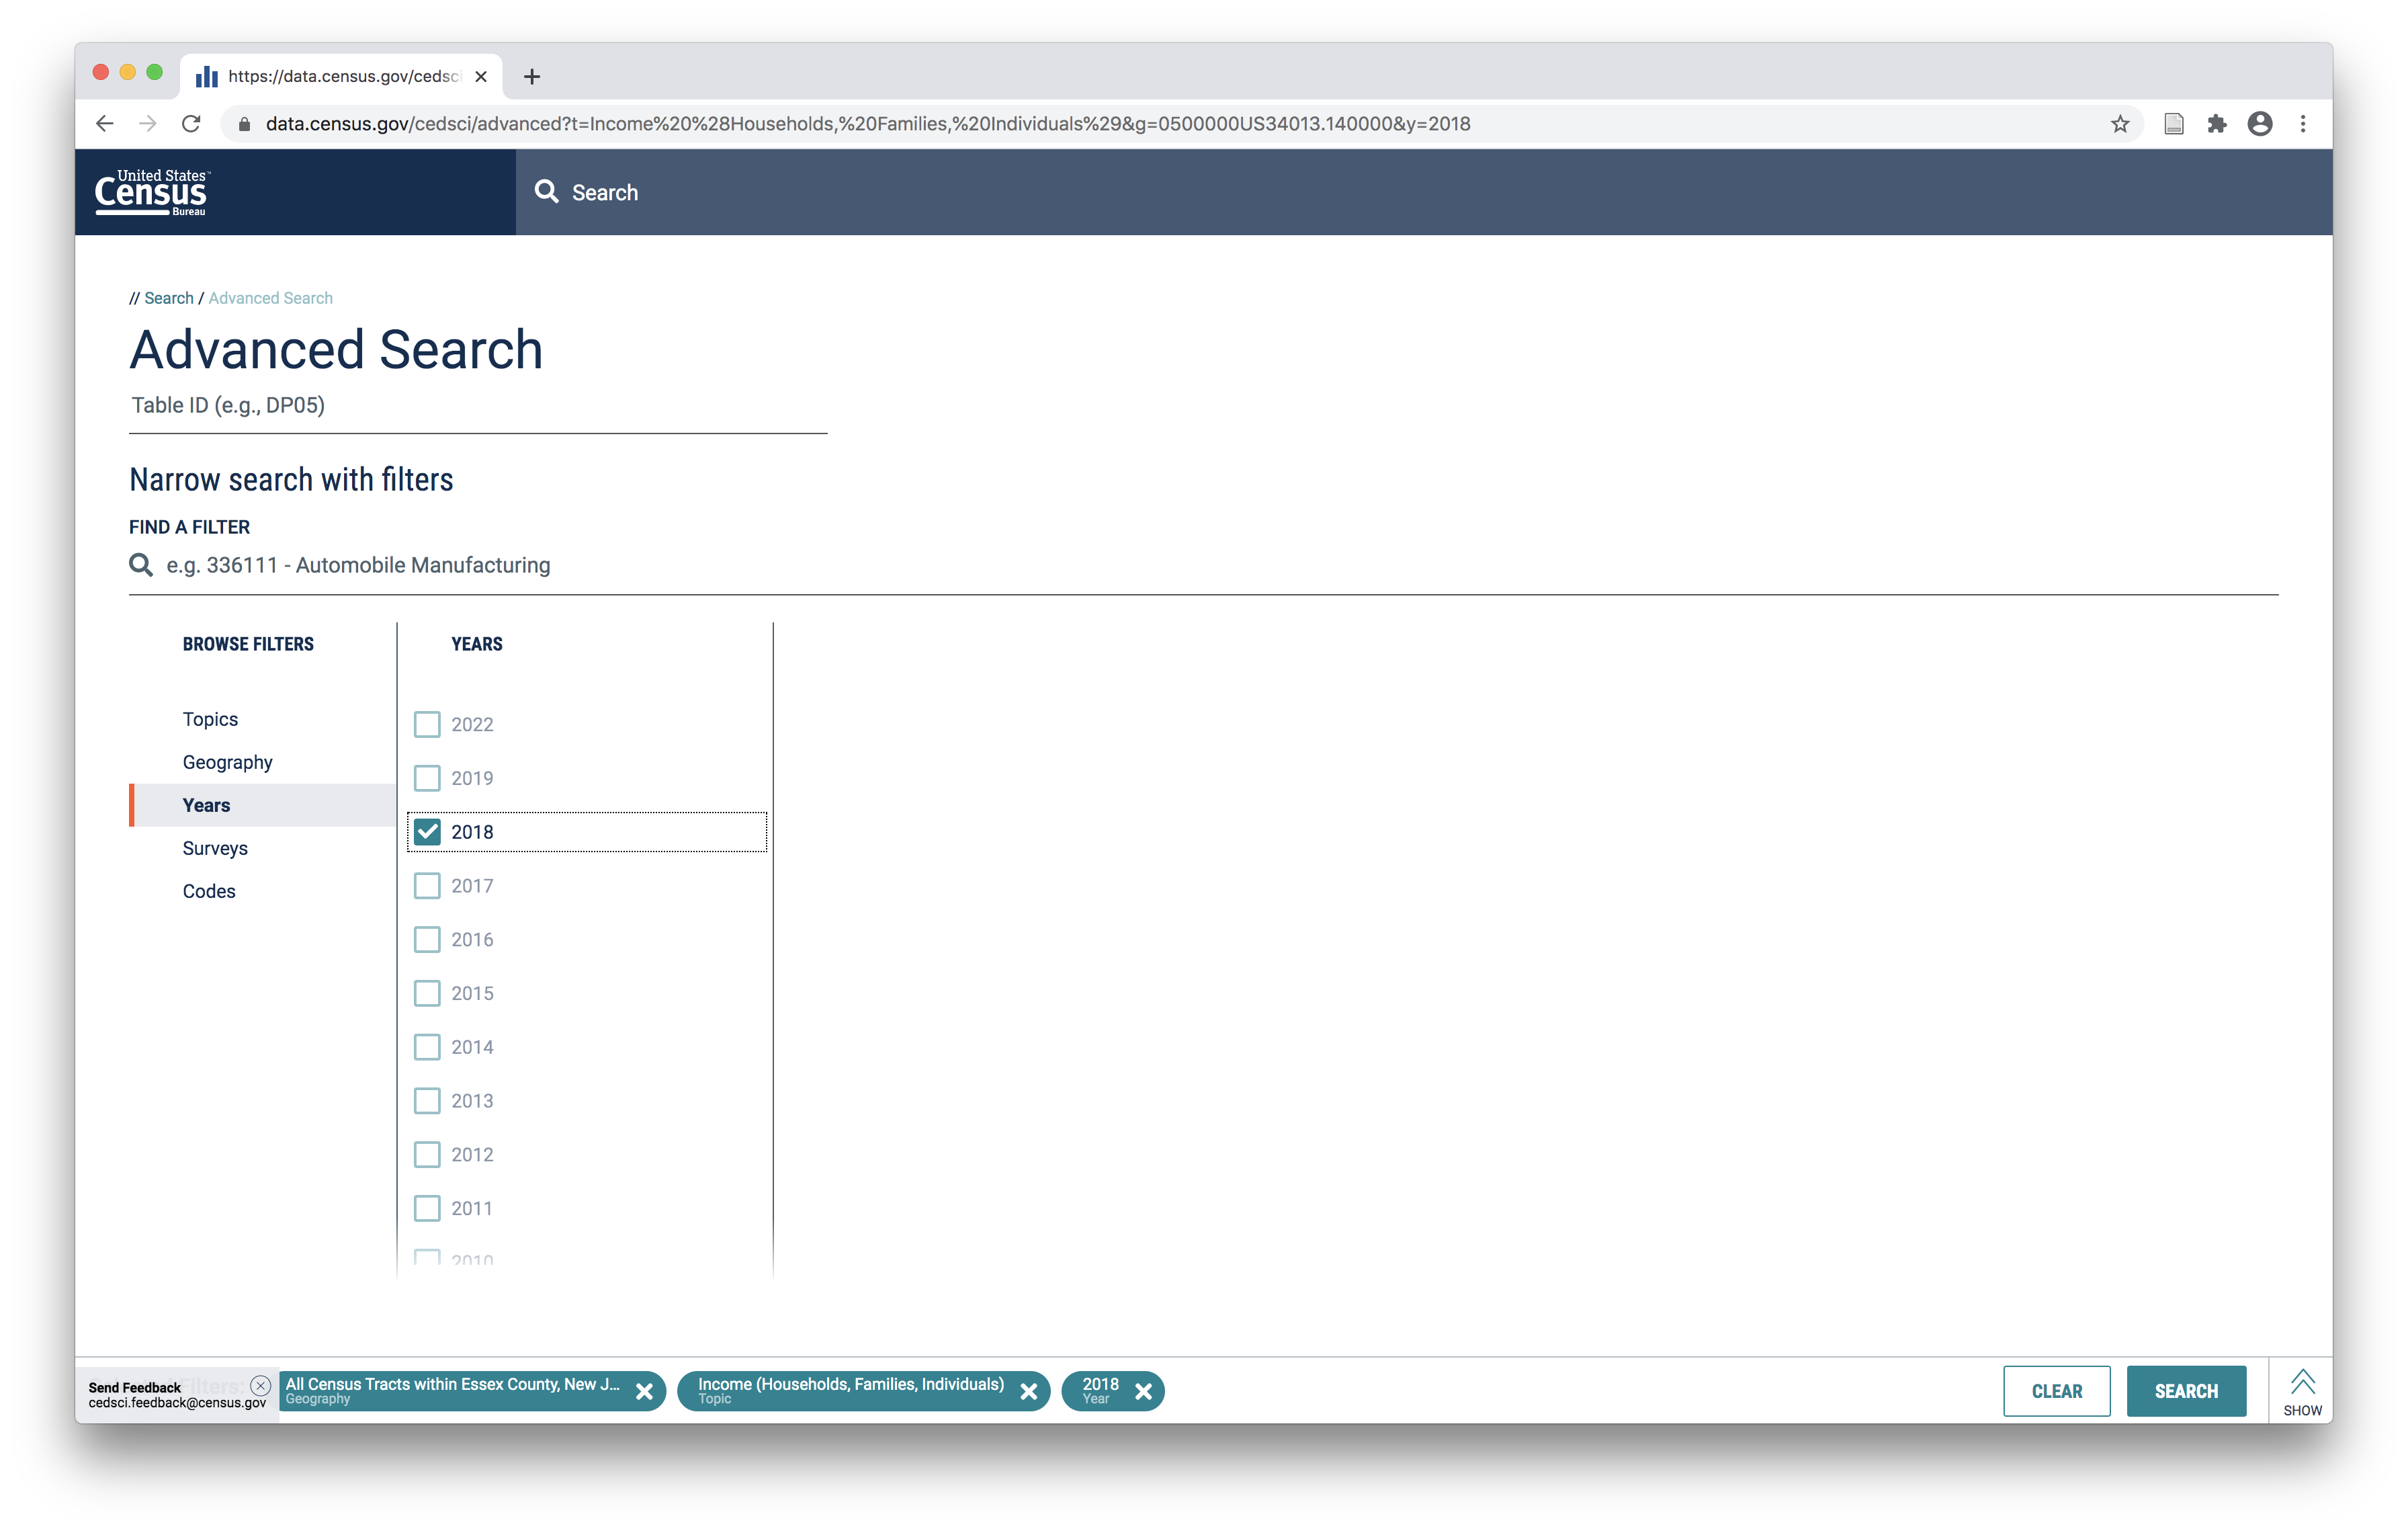
Then click Search
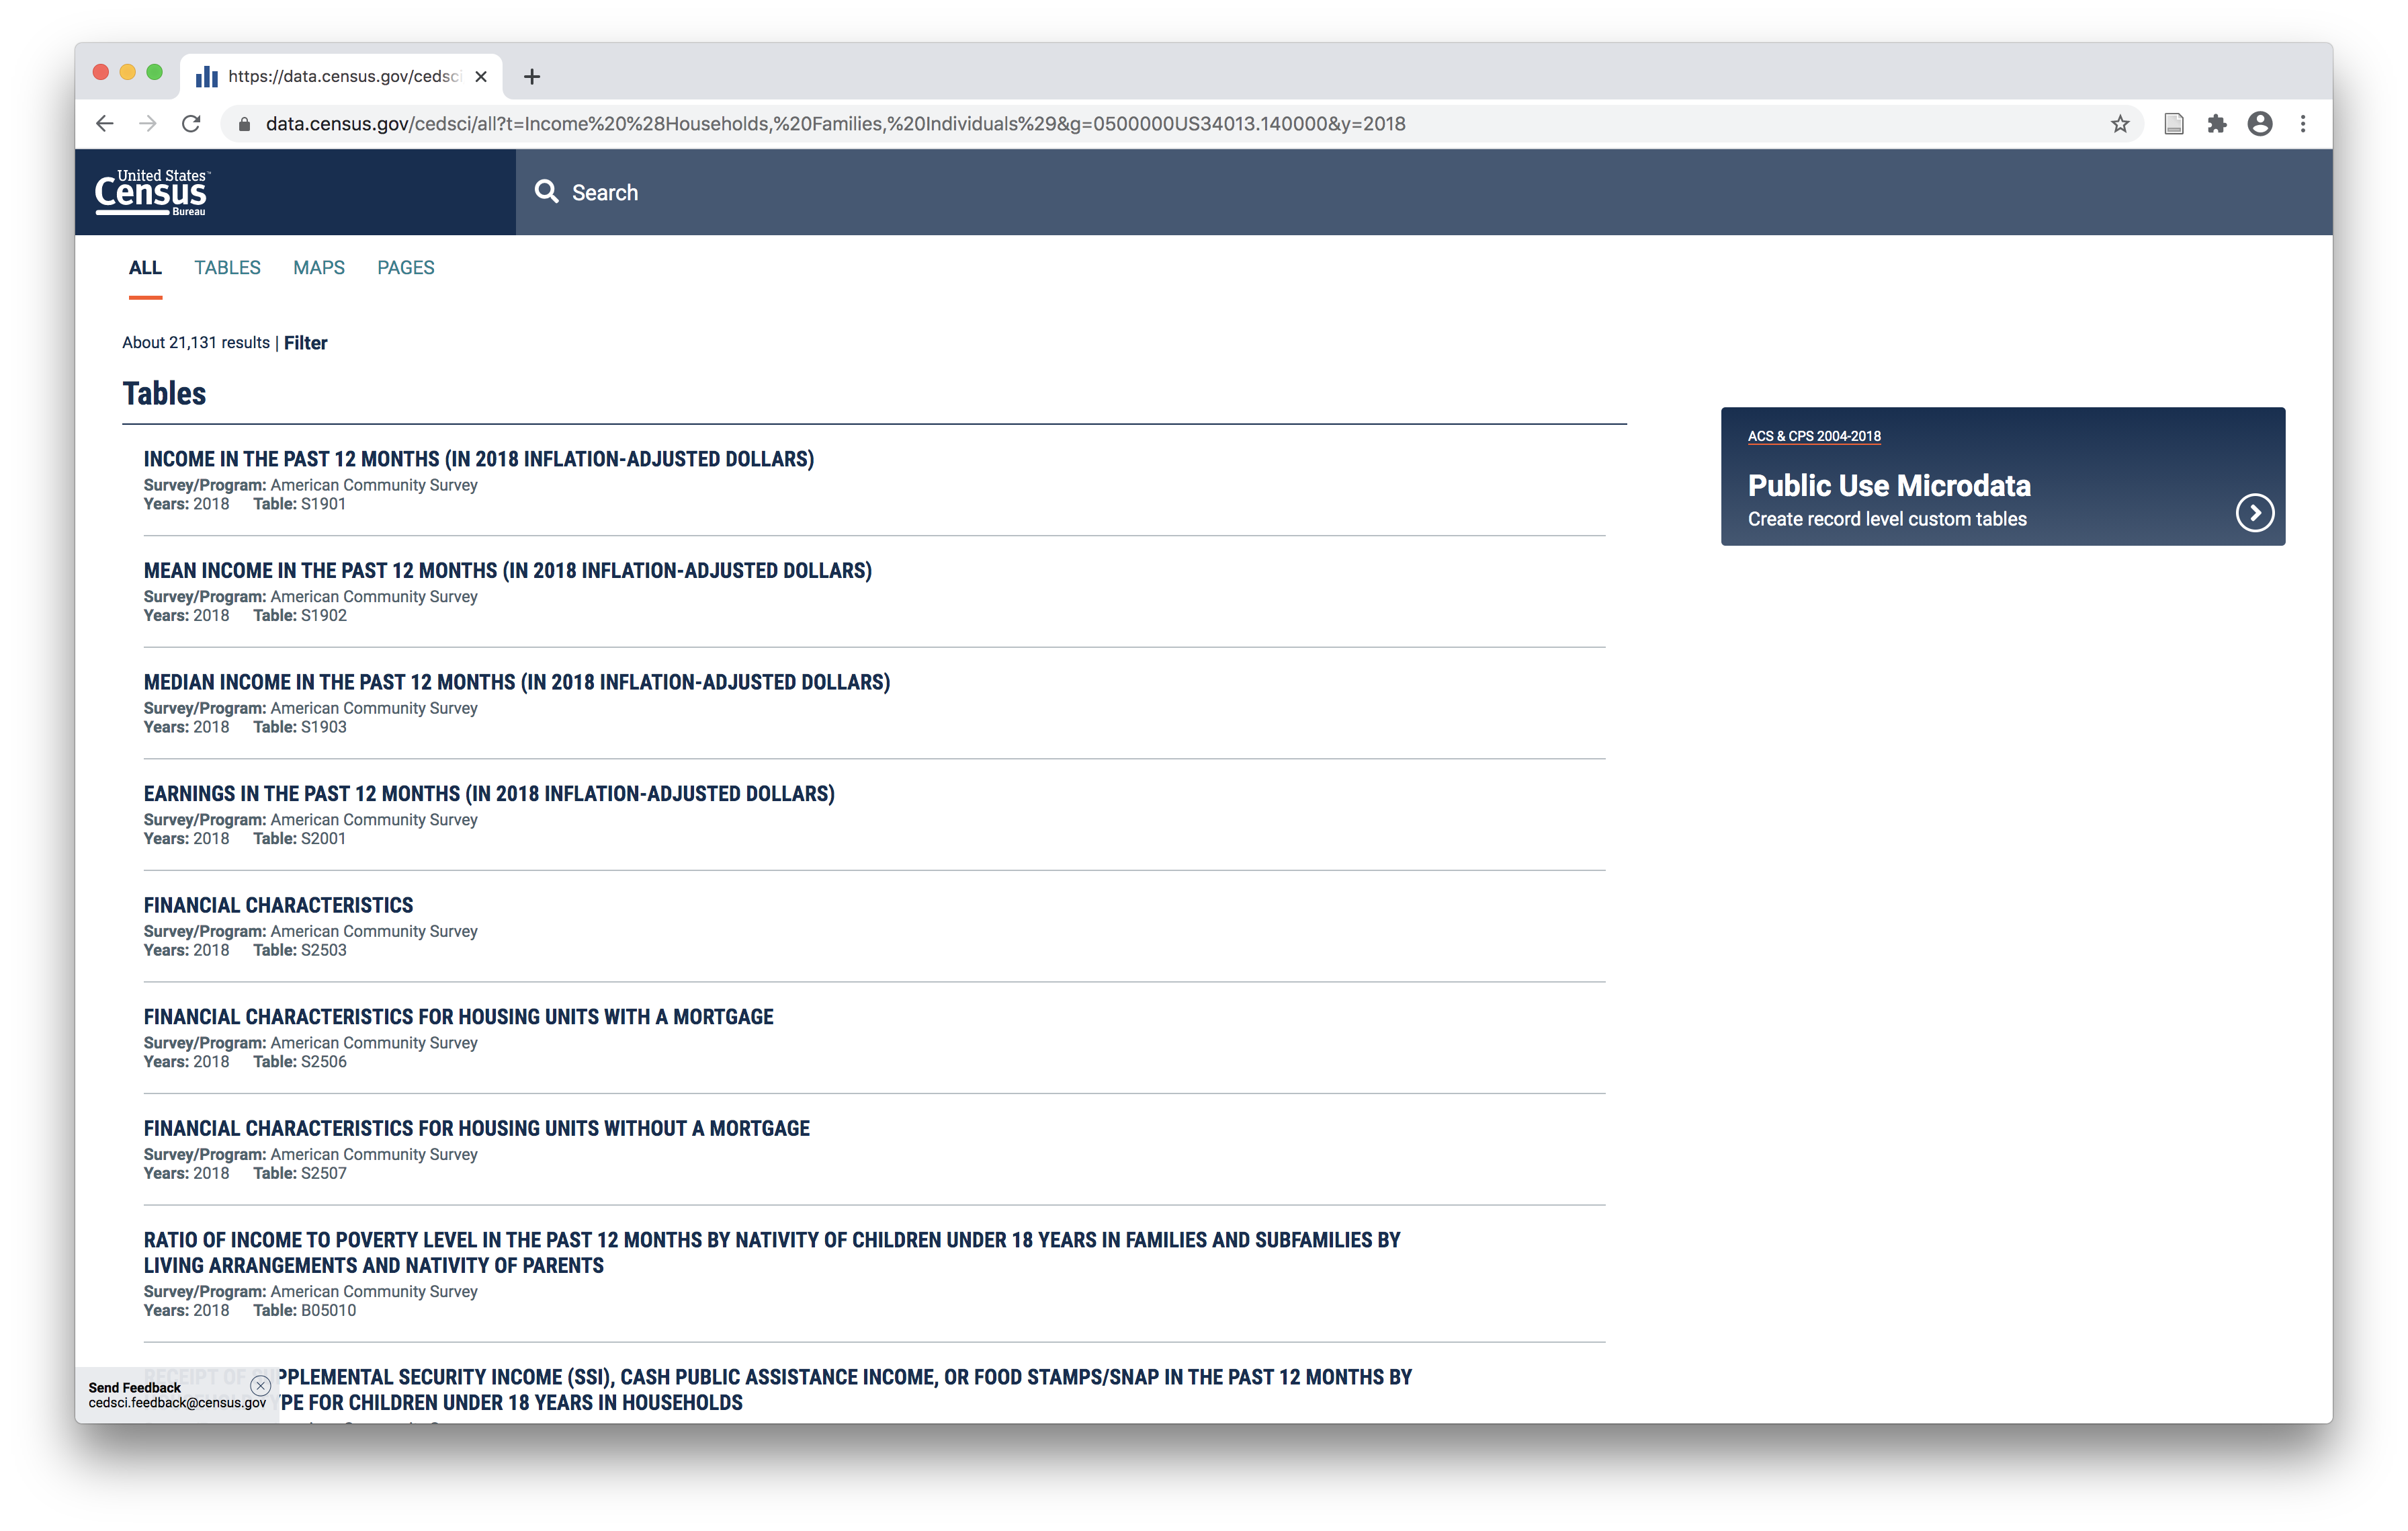
You will be presented with many tables matching your search criteria.
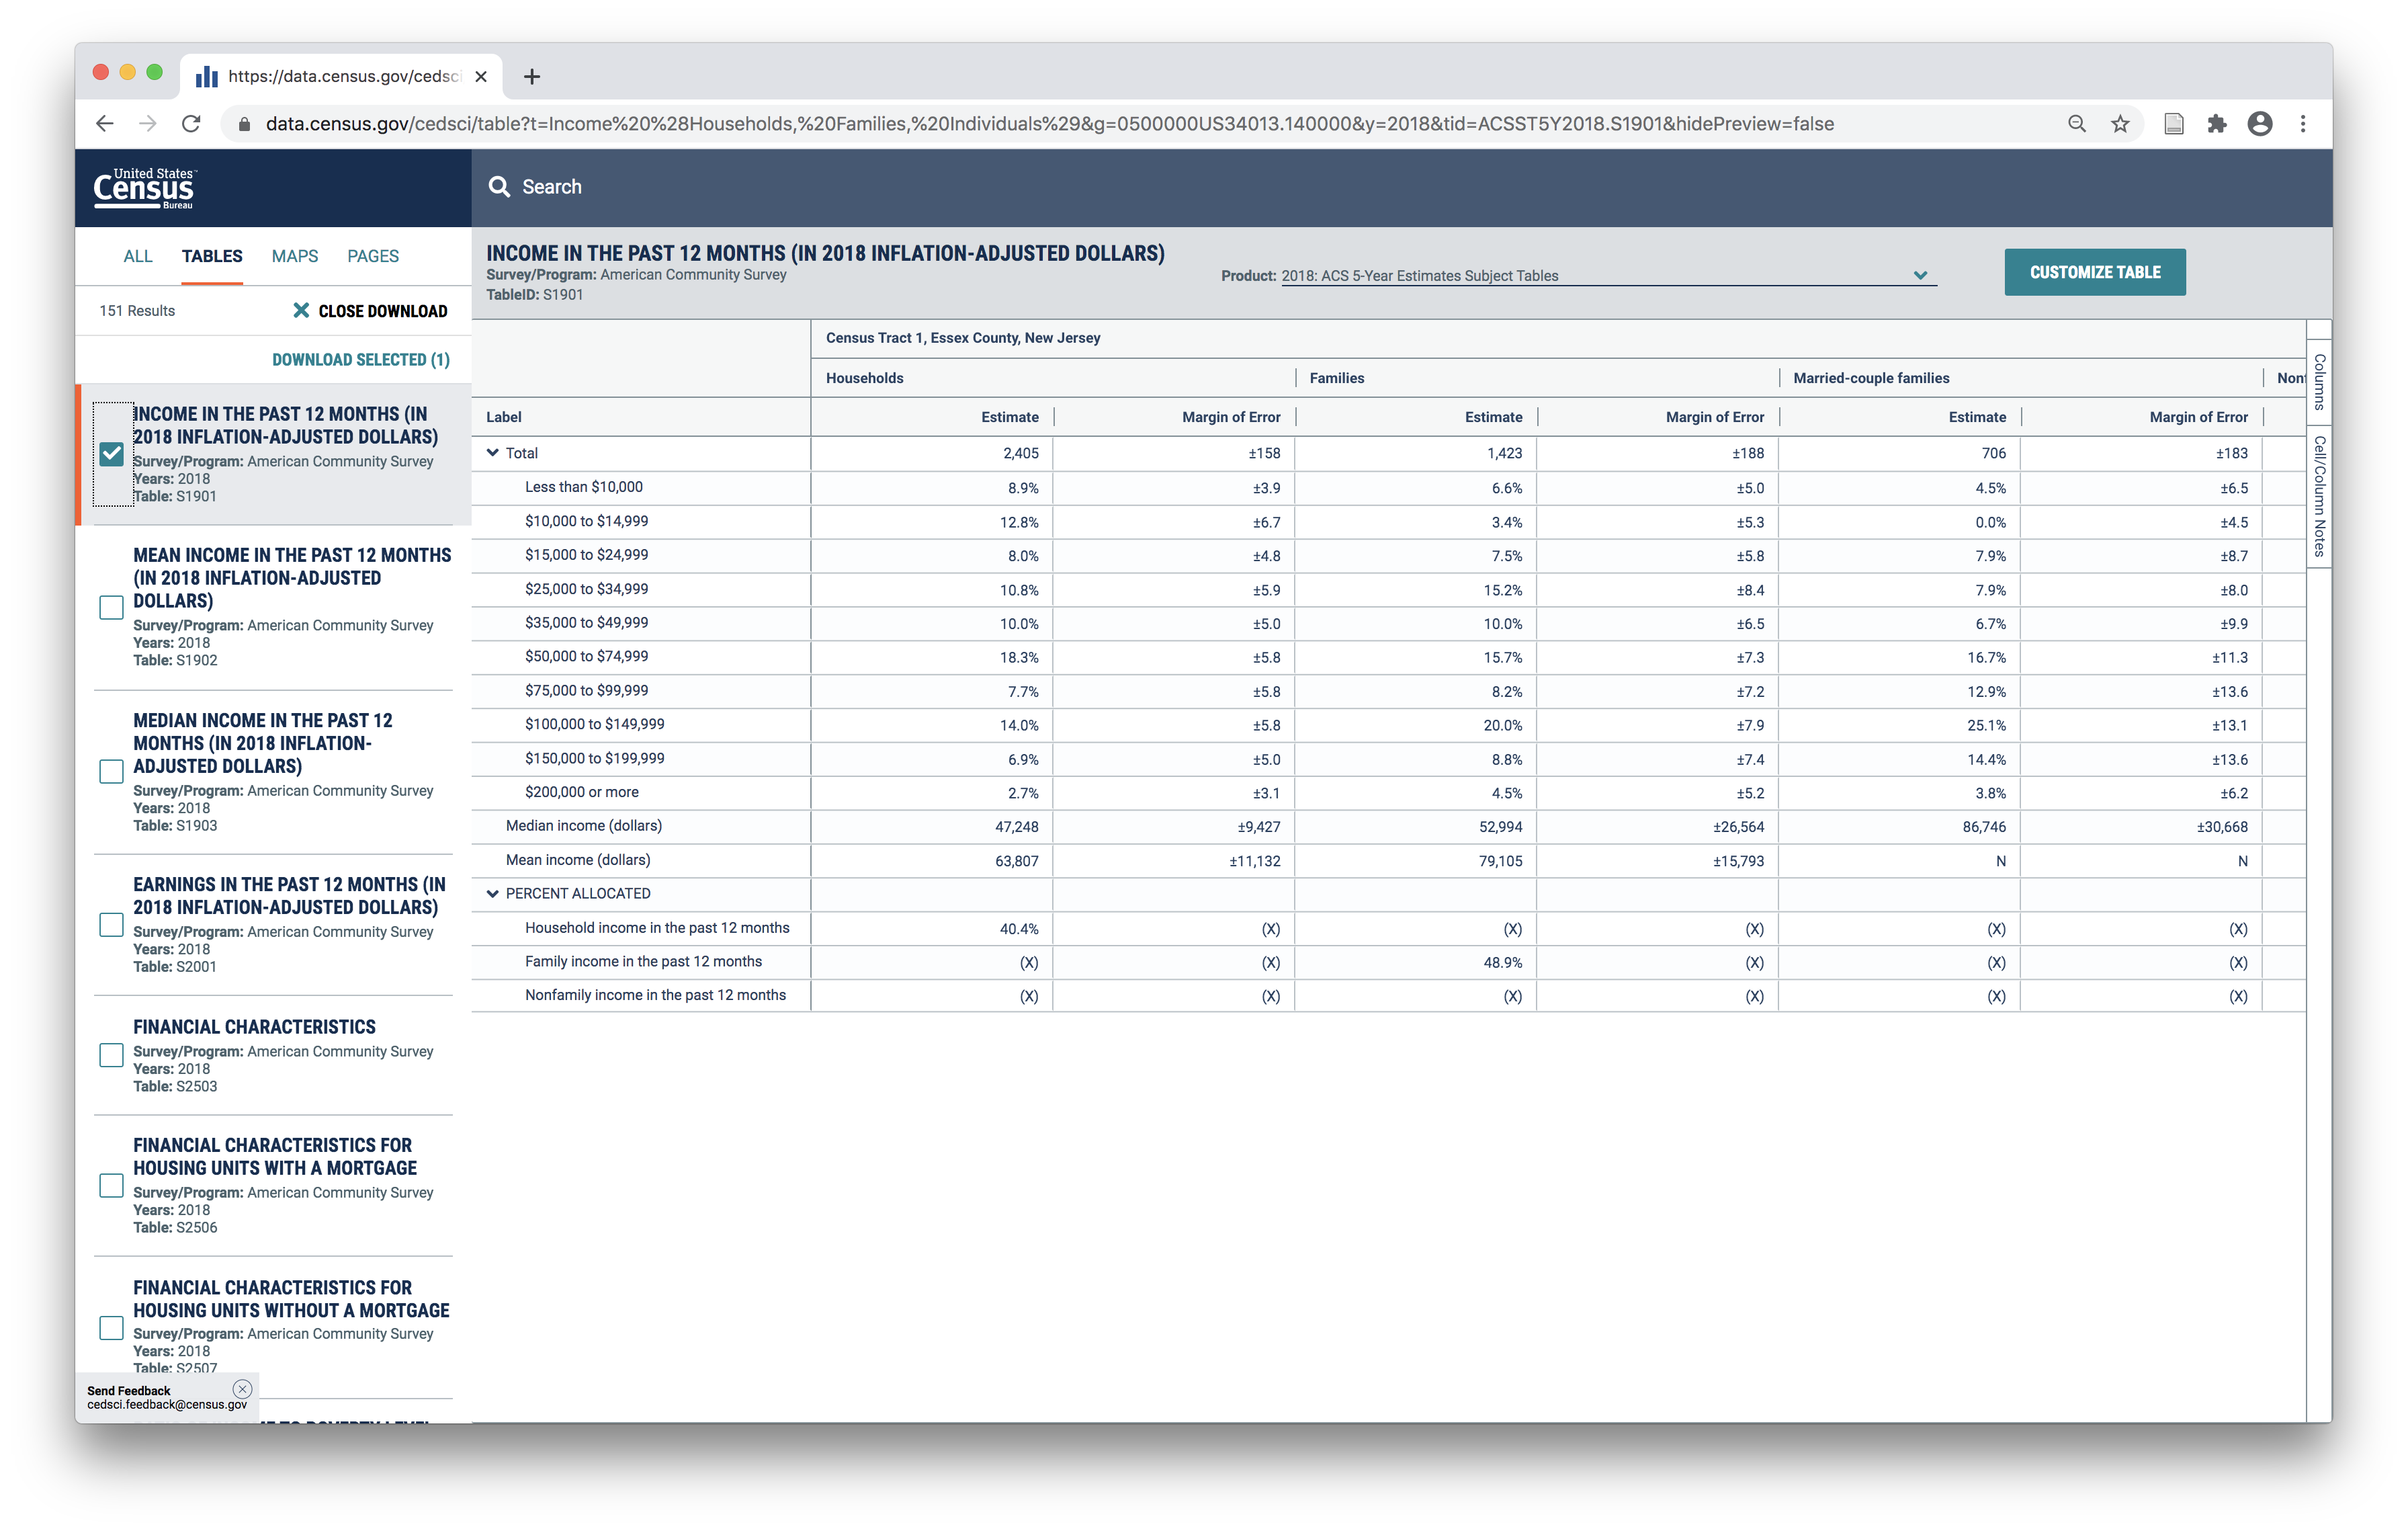
Select the Tables option at the top of the window to be able to preview the information contained in each table – they are each quite different and you should inspect them before downloading to be sure you are selecting the table that actually suits your needs.
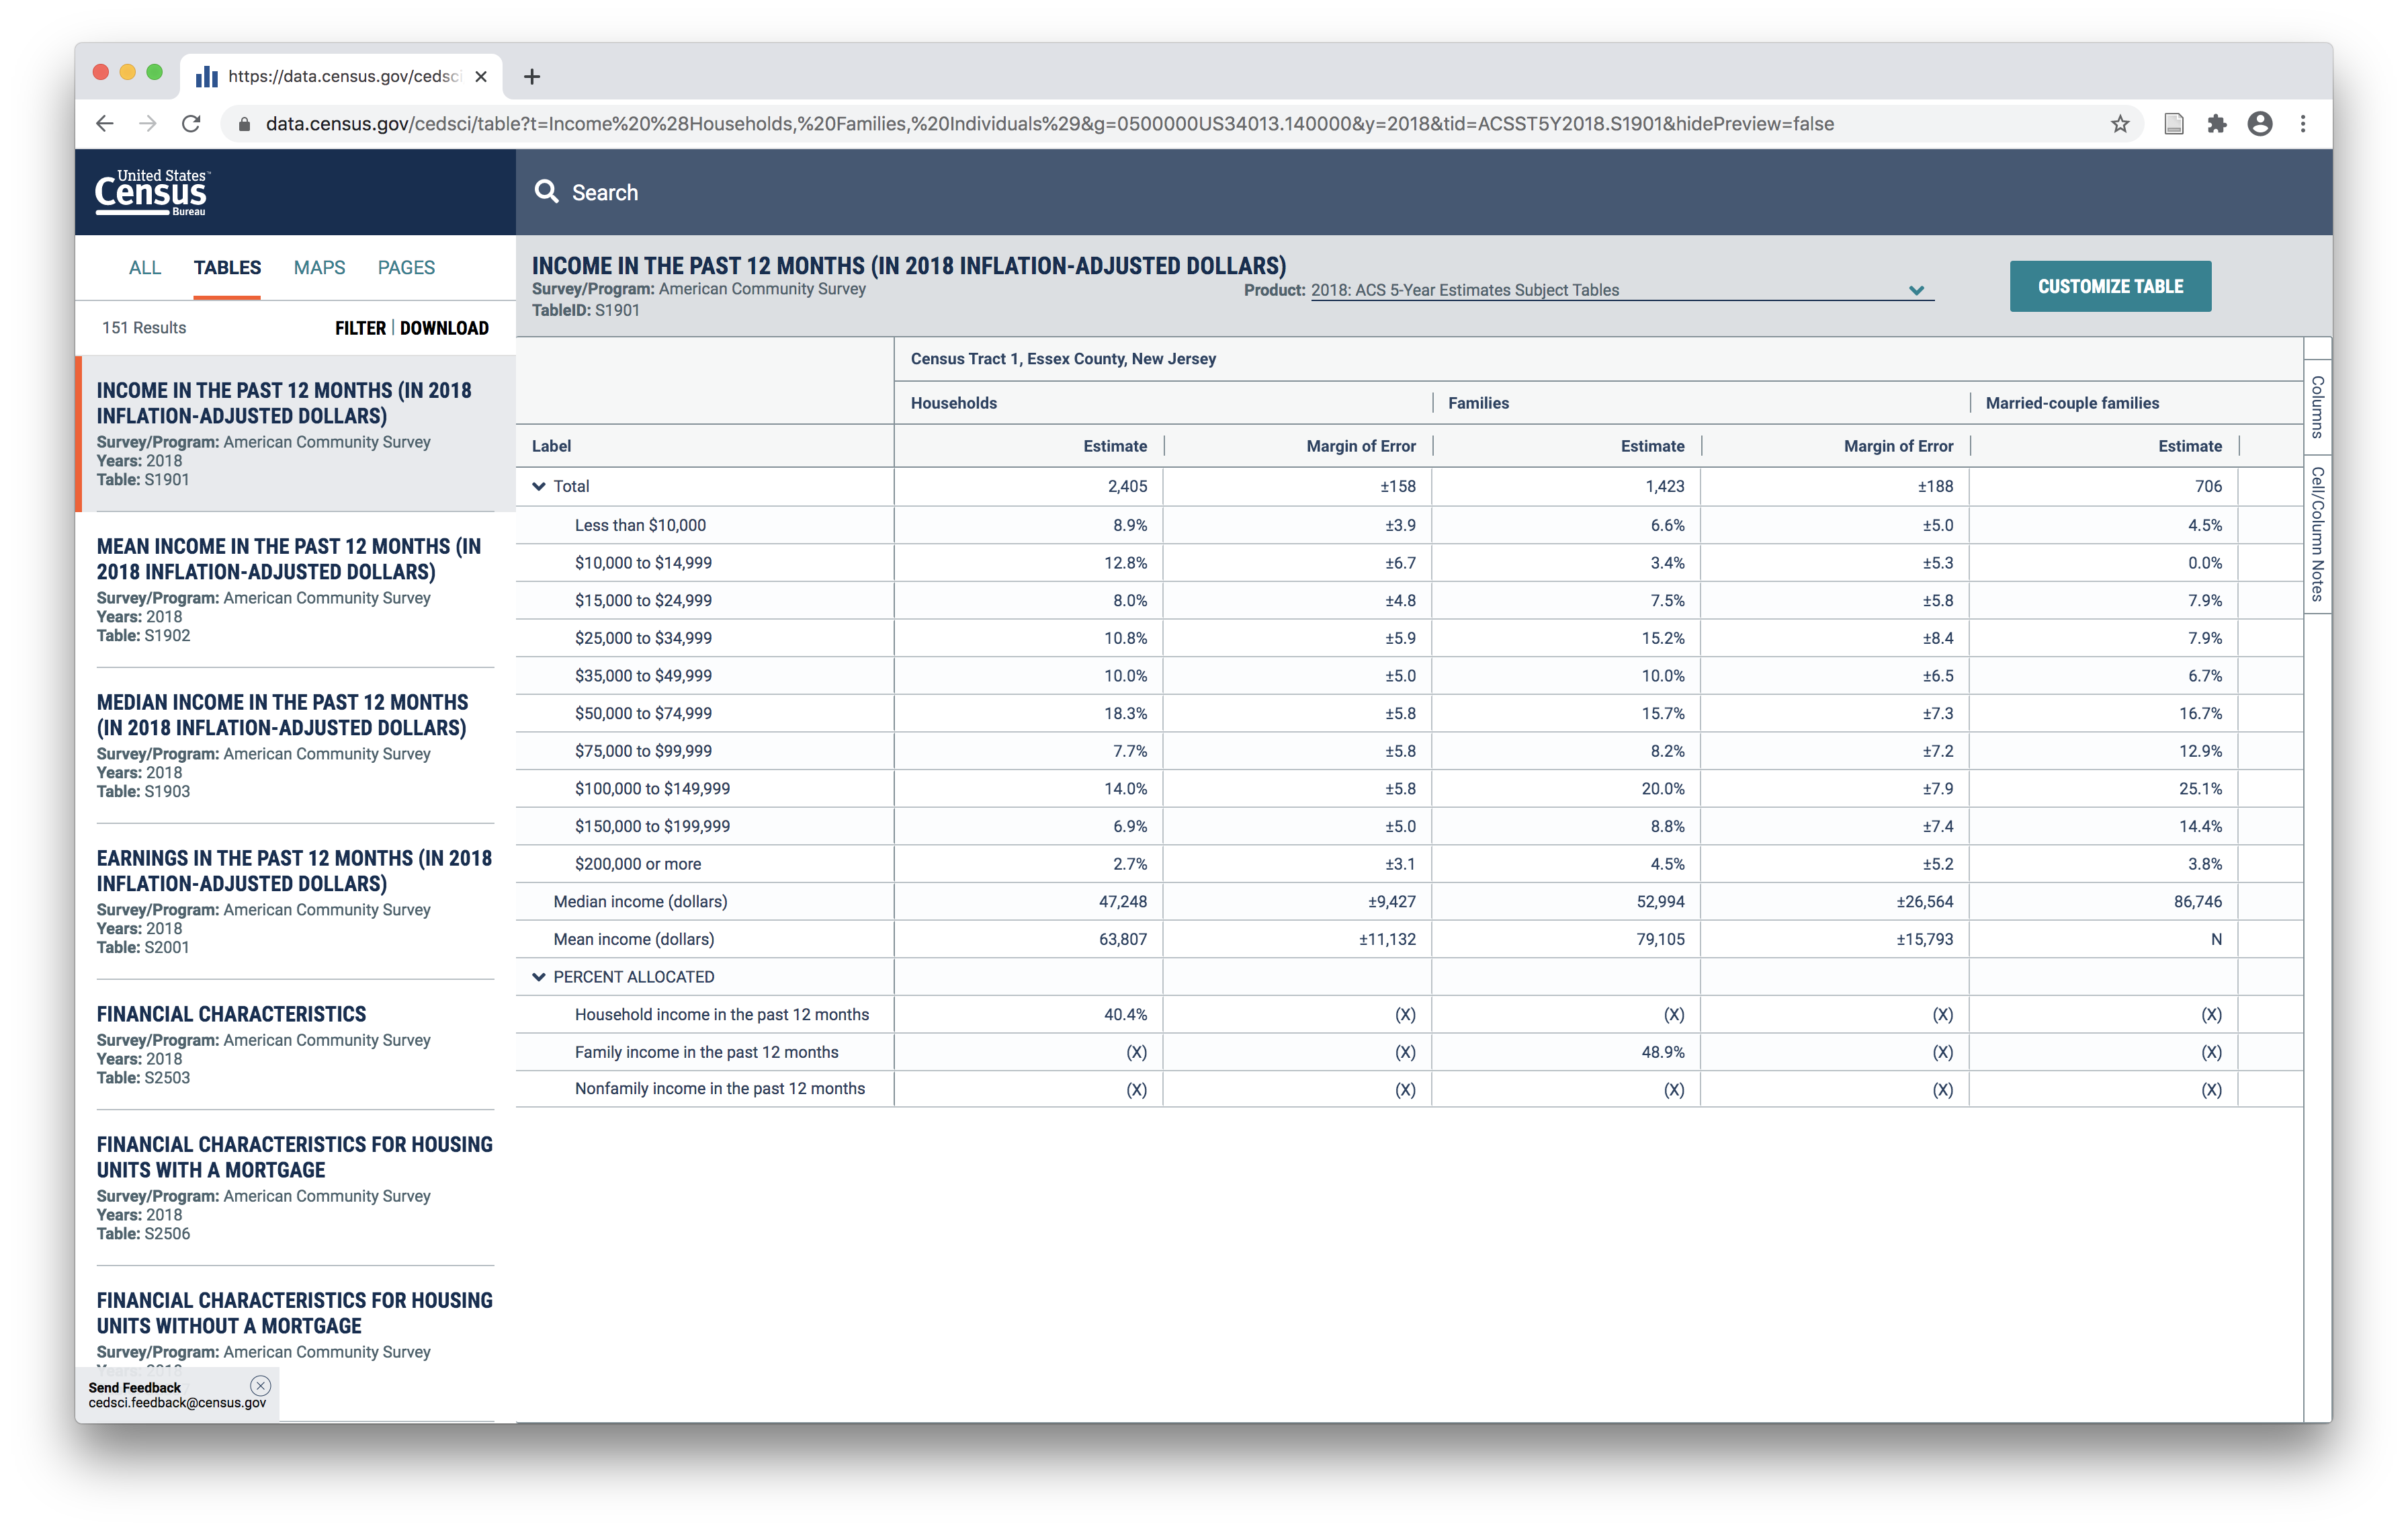
For example Income in the past 12 months (table S1901) shows the estimated number of households in several different income brackets for each census tract as well as the median household income for the tract overall:
Whereas the Median Income in tha past 12 months (table S1903) shows the median income for multiple different demographic groups, and shows an estimate of how many households are classified into each group for each census tract:
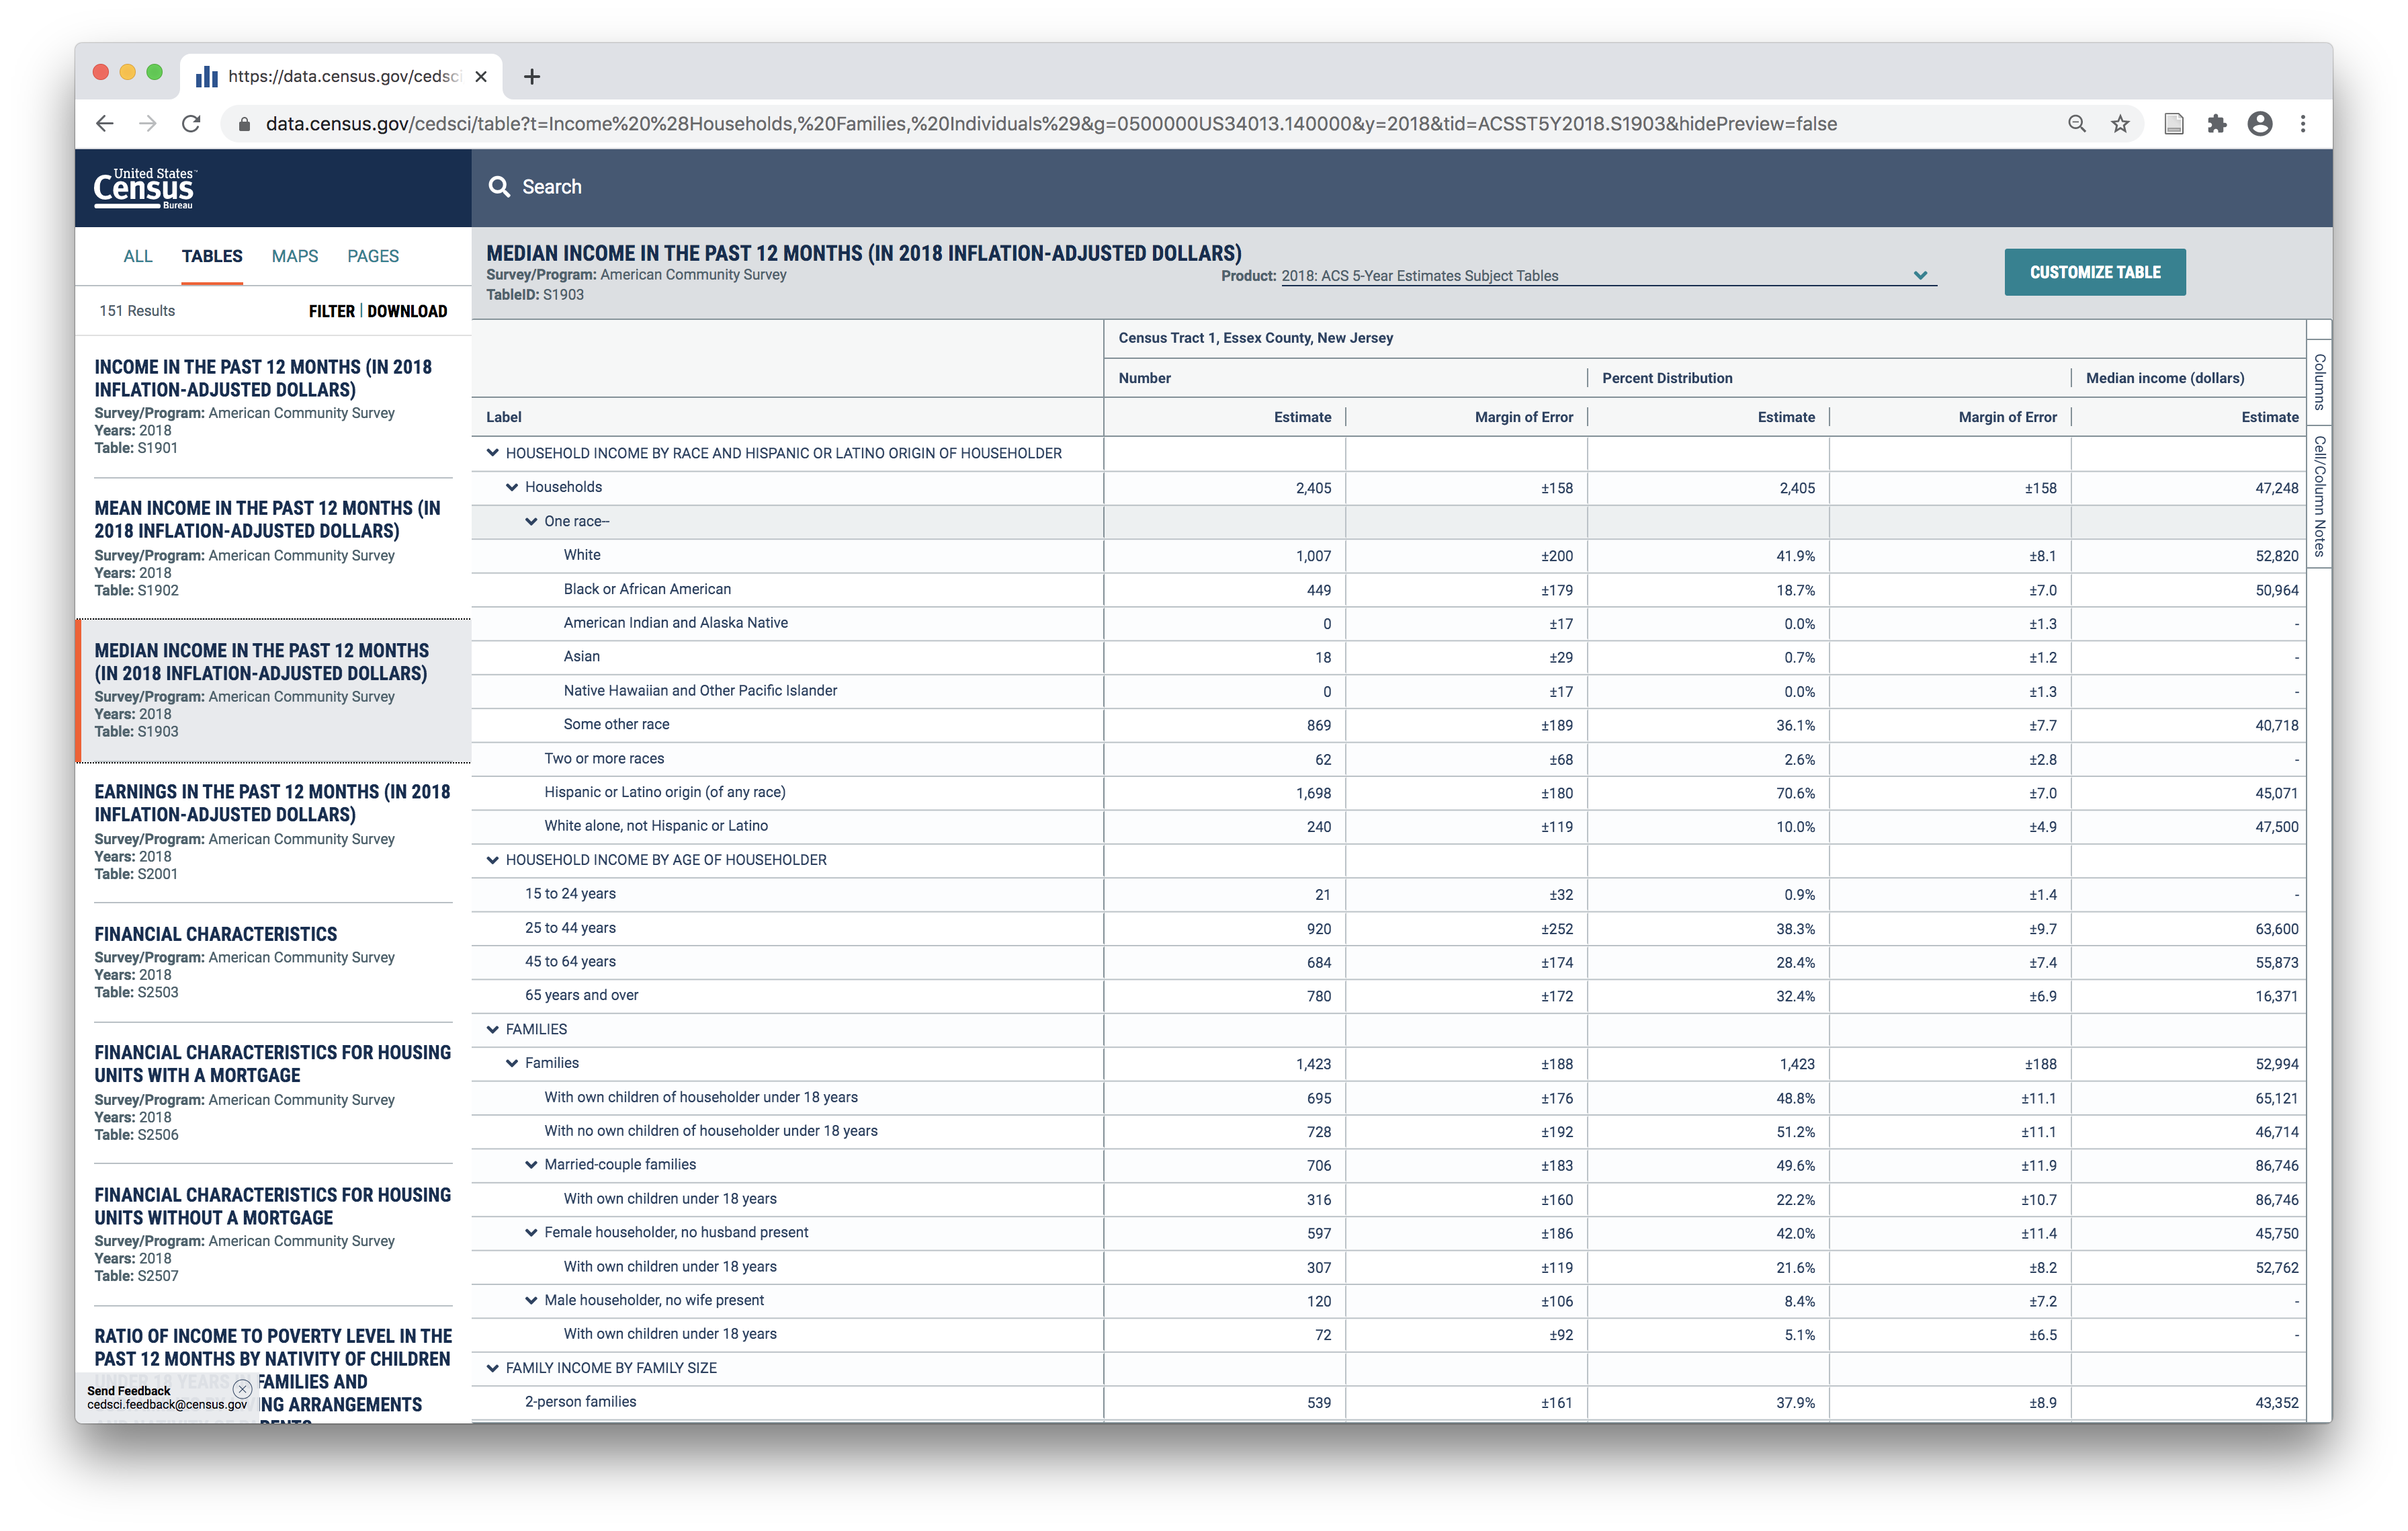
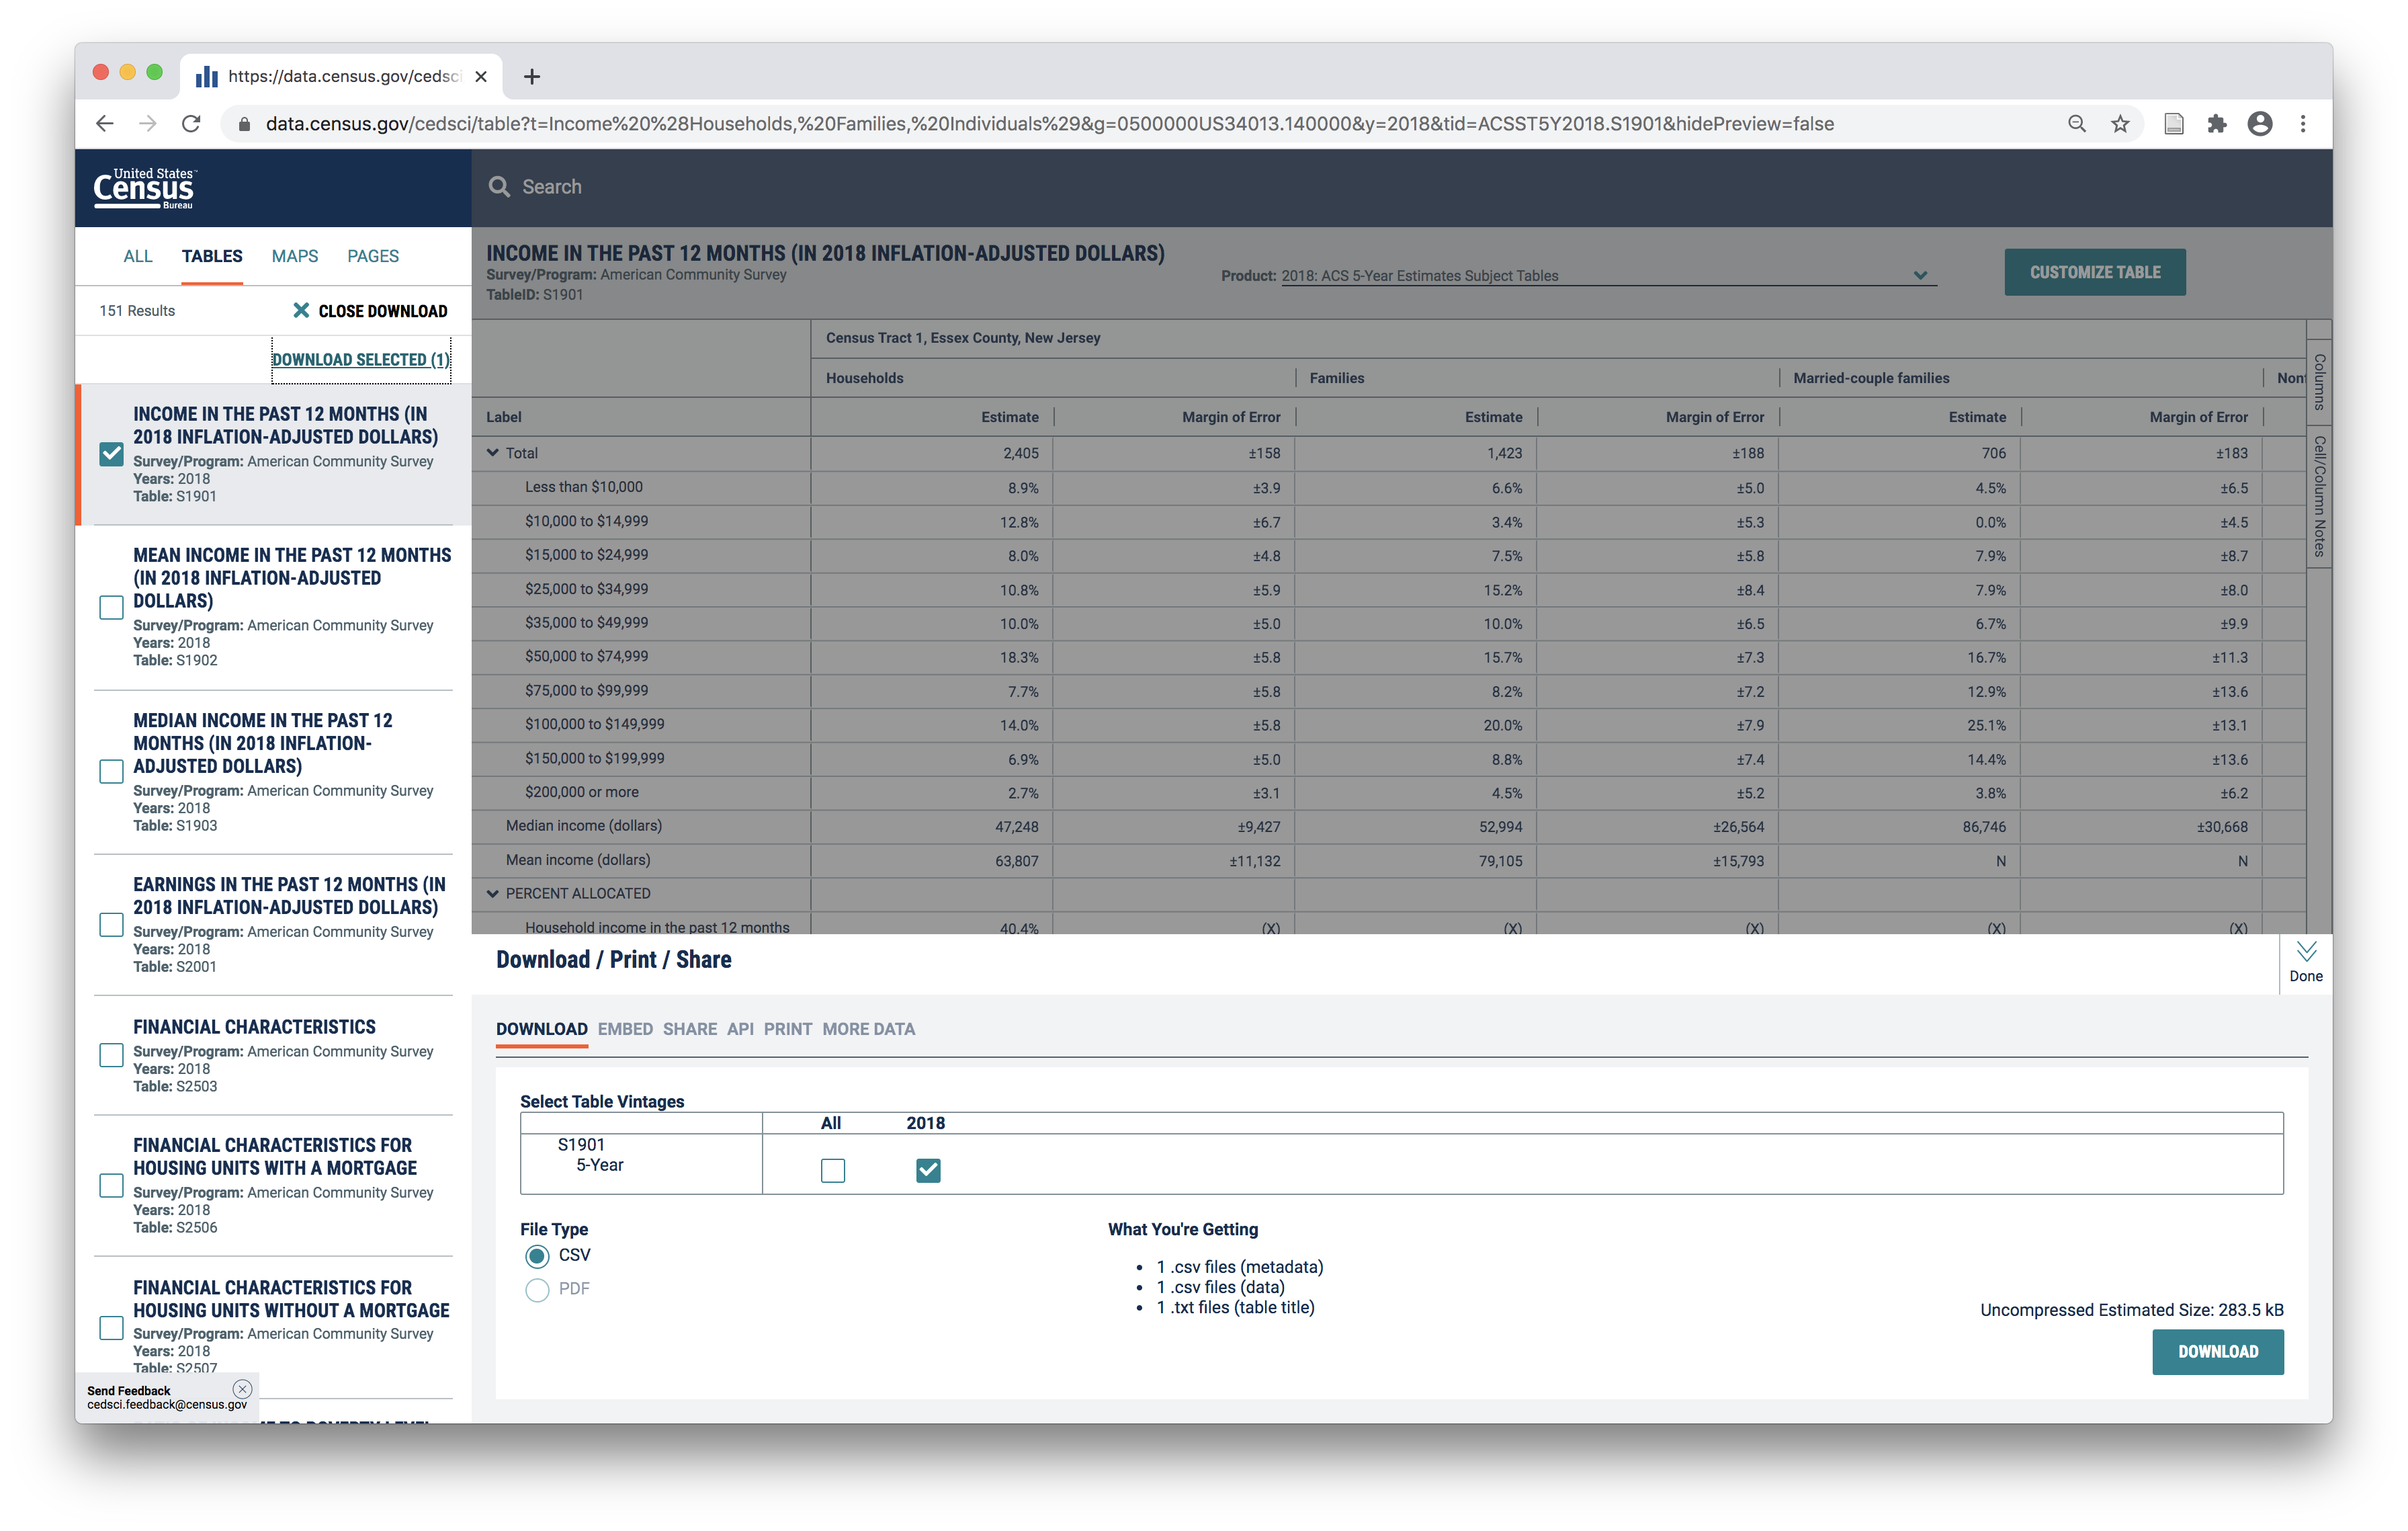
For this example we will download Income in the past 12 months (table S1901). Click download near the top left of the page. Then click the check box next to the dataset(s) you are tying to download. Click download now
A window will appear, select csv as the format. And select the years you are interested in (note: if you hadn’t specified one year in the filter steps above then multiple years would be available here for you to select).
After you have made these selections click download.
Accessing & downloading census geometry GIS data
The second step is to download boundary files that correspond with the census geography that you obtained tabular data for.
These boundary files must correspond in geographic scale (i.e. census blocks, or census tracts) as well as in time period. Every ten years in conjunction with the decennial census the boundaries of census tracts and blocks are redrawn. So for example, if you have a dataset from the 2006 ACS you must be sure to use 2000 census boundary files.
Census geography boundaries are available to download here. Use the Web interface option to select the year and geography you are interested in.
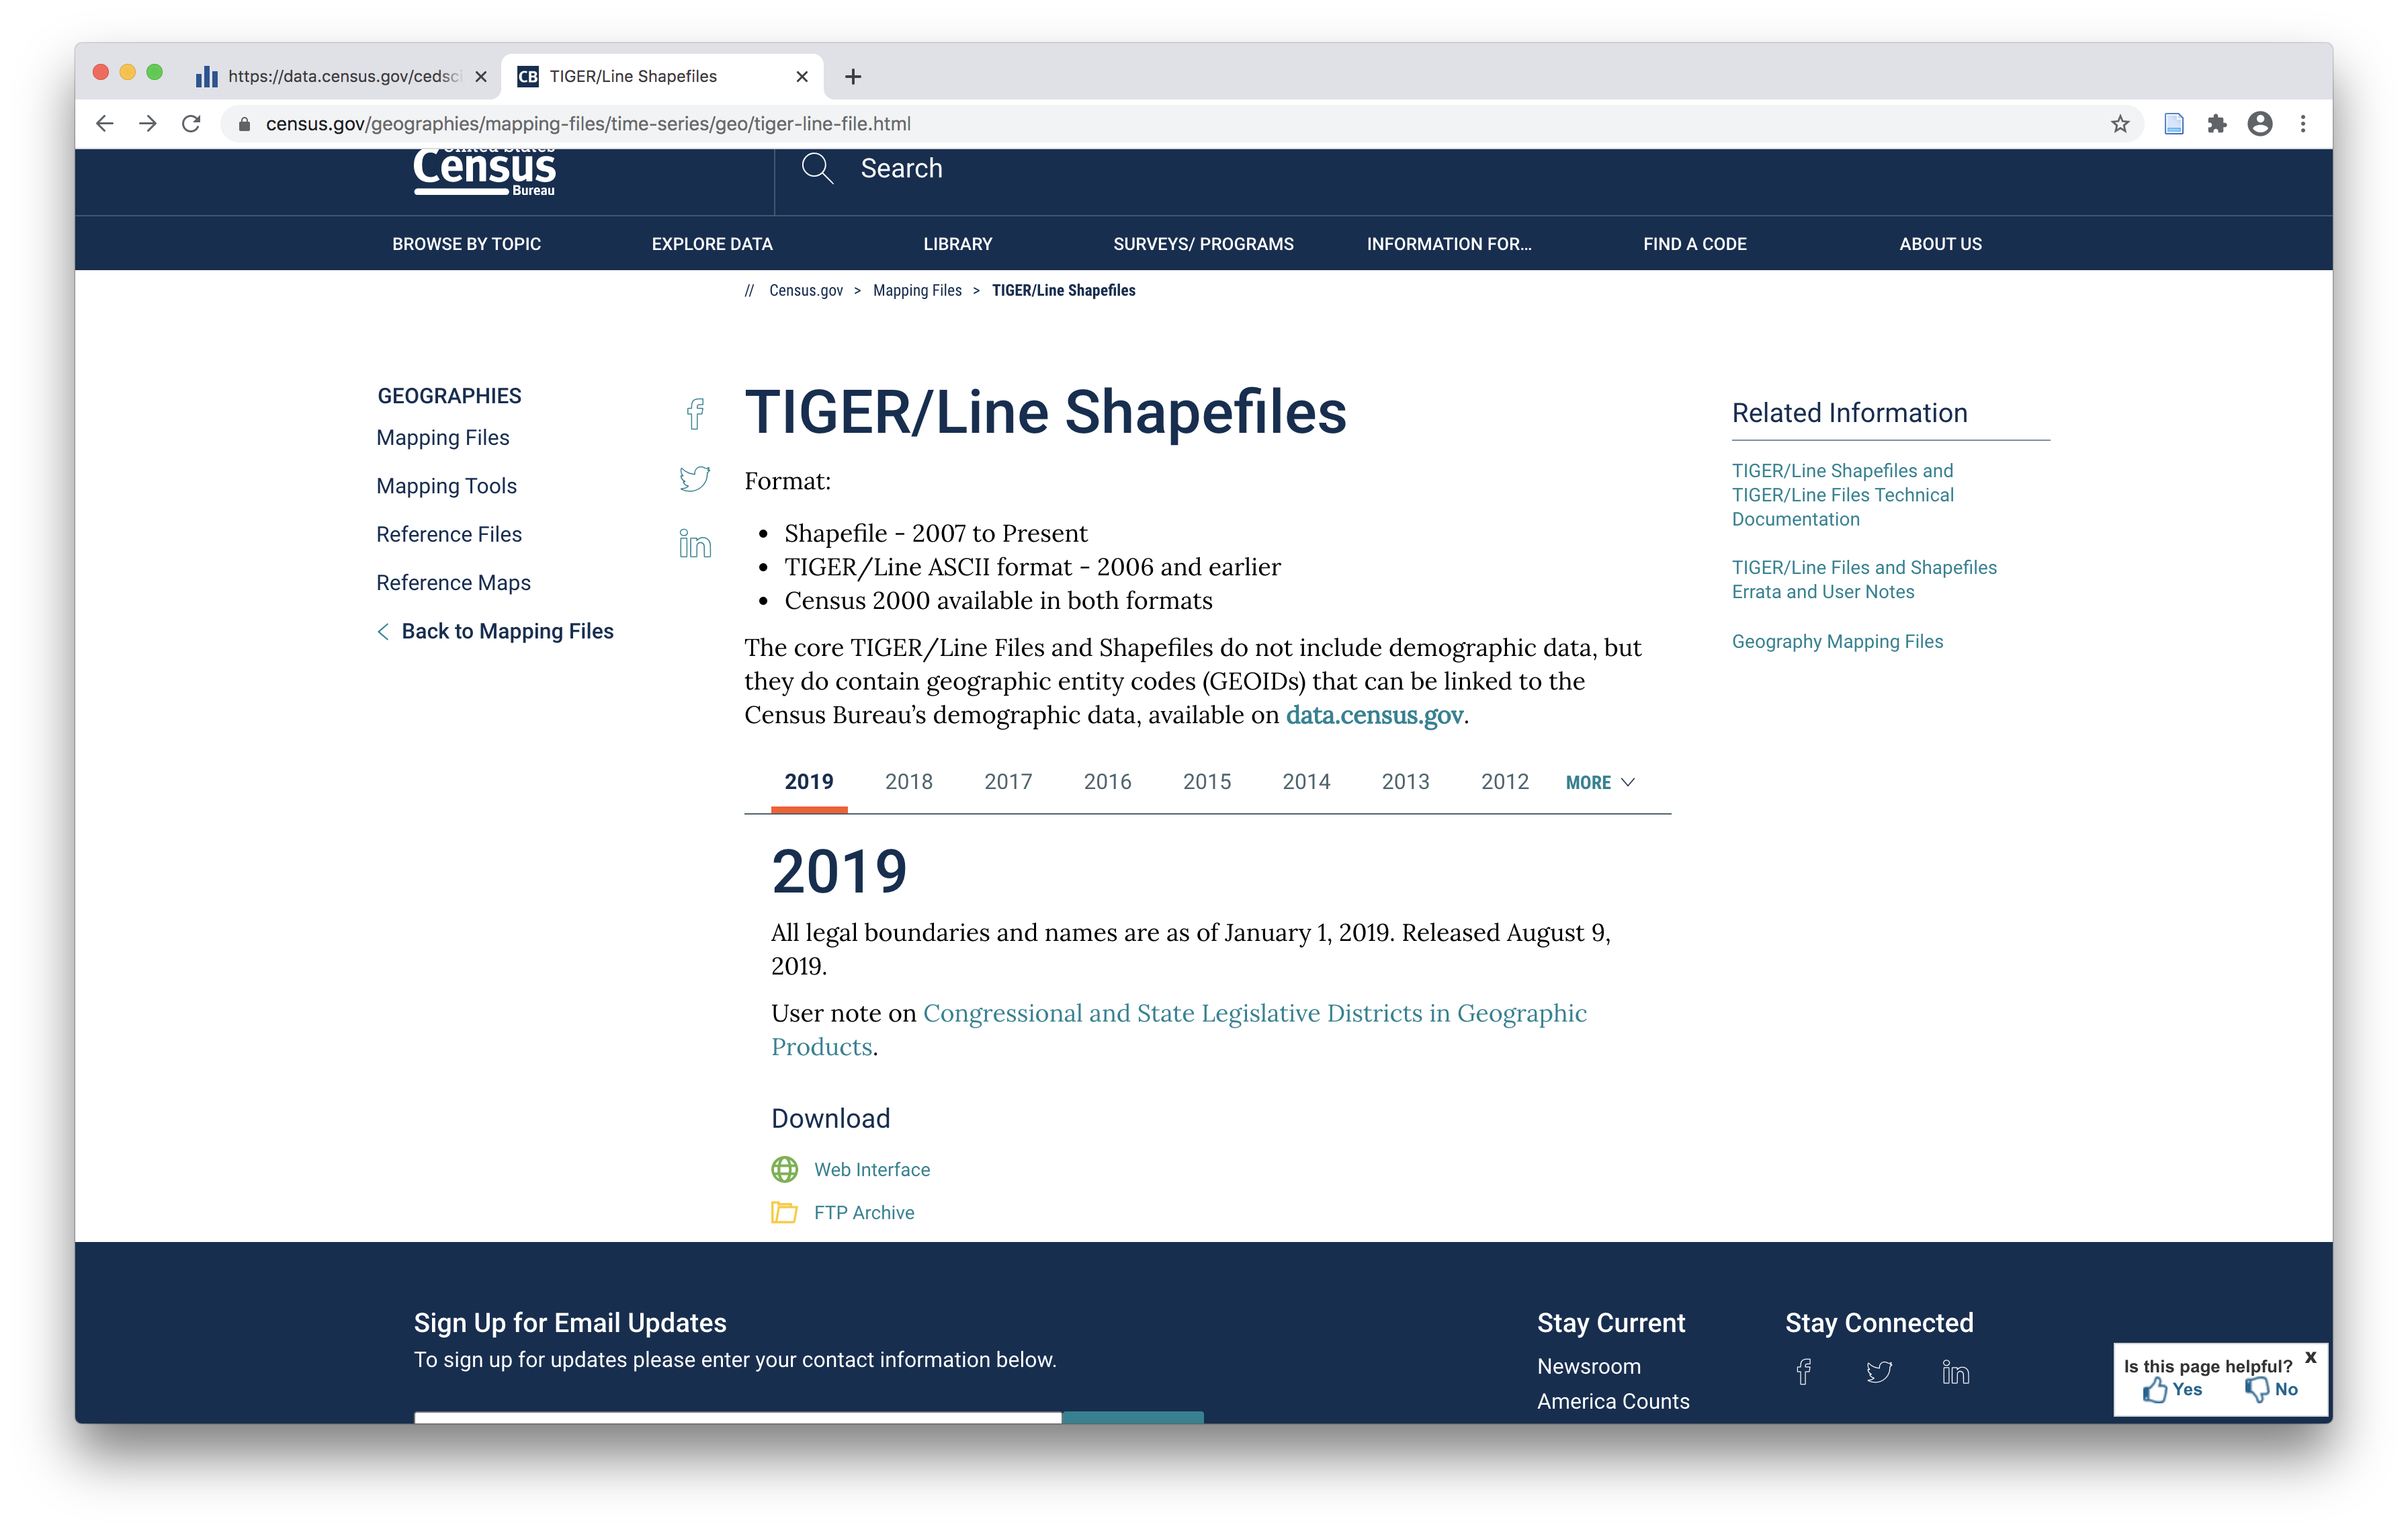
Select the year, the layer type, and then the state so that it matches the tabular data you just downloaded. Click download.
Inspect downloaded data
Two compressed files (usually .zip format) will have downloaded. One contains the tabular data and the other contains the census boundary files you selected.
Un-compress the files and save the two folders in the location where you are storing your data for whatever project you are working on. Take a look at the contents of both folders.
The tabular data you downloaded from the Census should contain at least three files (if you downloaded more than one census table you will have more files). One file contains a description of the dataset that you downloaded. One contains the field names and field codes. And one contains the actual data.
The folder for the census boundaries you downloaded should contain one shapefile (which you remember is actually a bundle of three to seven files with the same name but different file extensions).
Prepare census boundary files
Open the census tracts shapefile in QGIS. Take a look at its attribute table. Notice the GEOID field and its format. It follows the format outlined here.
In this example we downloaded tabular data just for Essex County in New Jersey however the census tract boundaries are for the entire state of New Jersey. Use the select by expression tool to select just those census tracts in Essex County (the county code for Essex is 013, you can look this up easily by googling “FIPS codes New Jersey”).

The selection should look like this:

Export these selected features as a new dataset for census tracts in Essex County. As you export the Essex County census tracts re-project them to use the New Jersey state plane projection (EPSG 3424).
Remove the New Jersey census tracts. And set the project’s projection from the Essex County tracts.
Pre-processing for the tabular data
There are two small pre-processing steps that you must complete prior to being able to perform a table join between this tabular data and corresponding census boundary geographic data.
- Delete the second header row with extended text field names (recall that attribute tables can only have one row with field names)
- Reformat the GEO_ID field into a format that will match the GEOID included with census boundary GIS datasets
To begin open the file with the data in excel, google sheets, numbers (your preferred spreadsheet editing software).
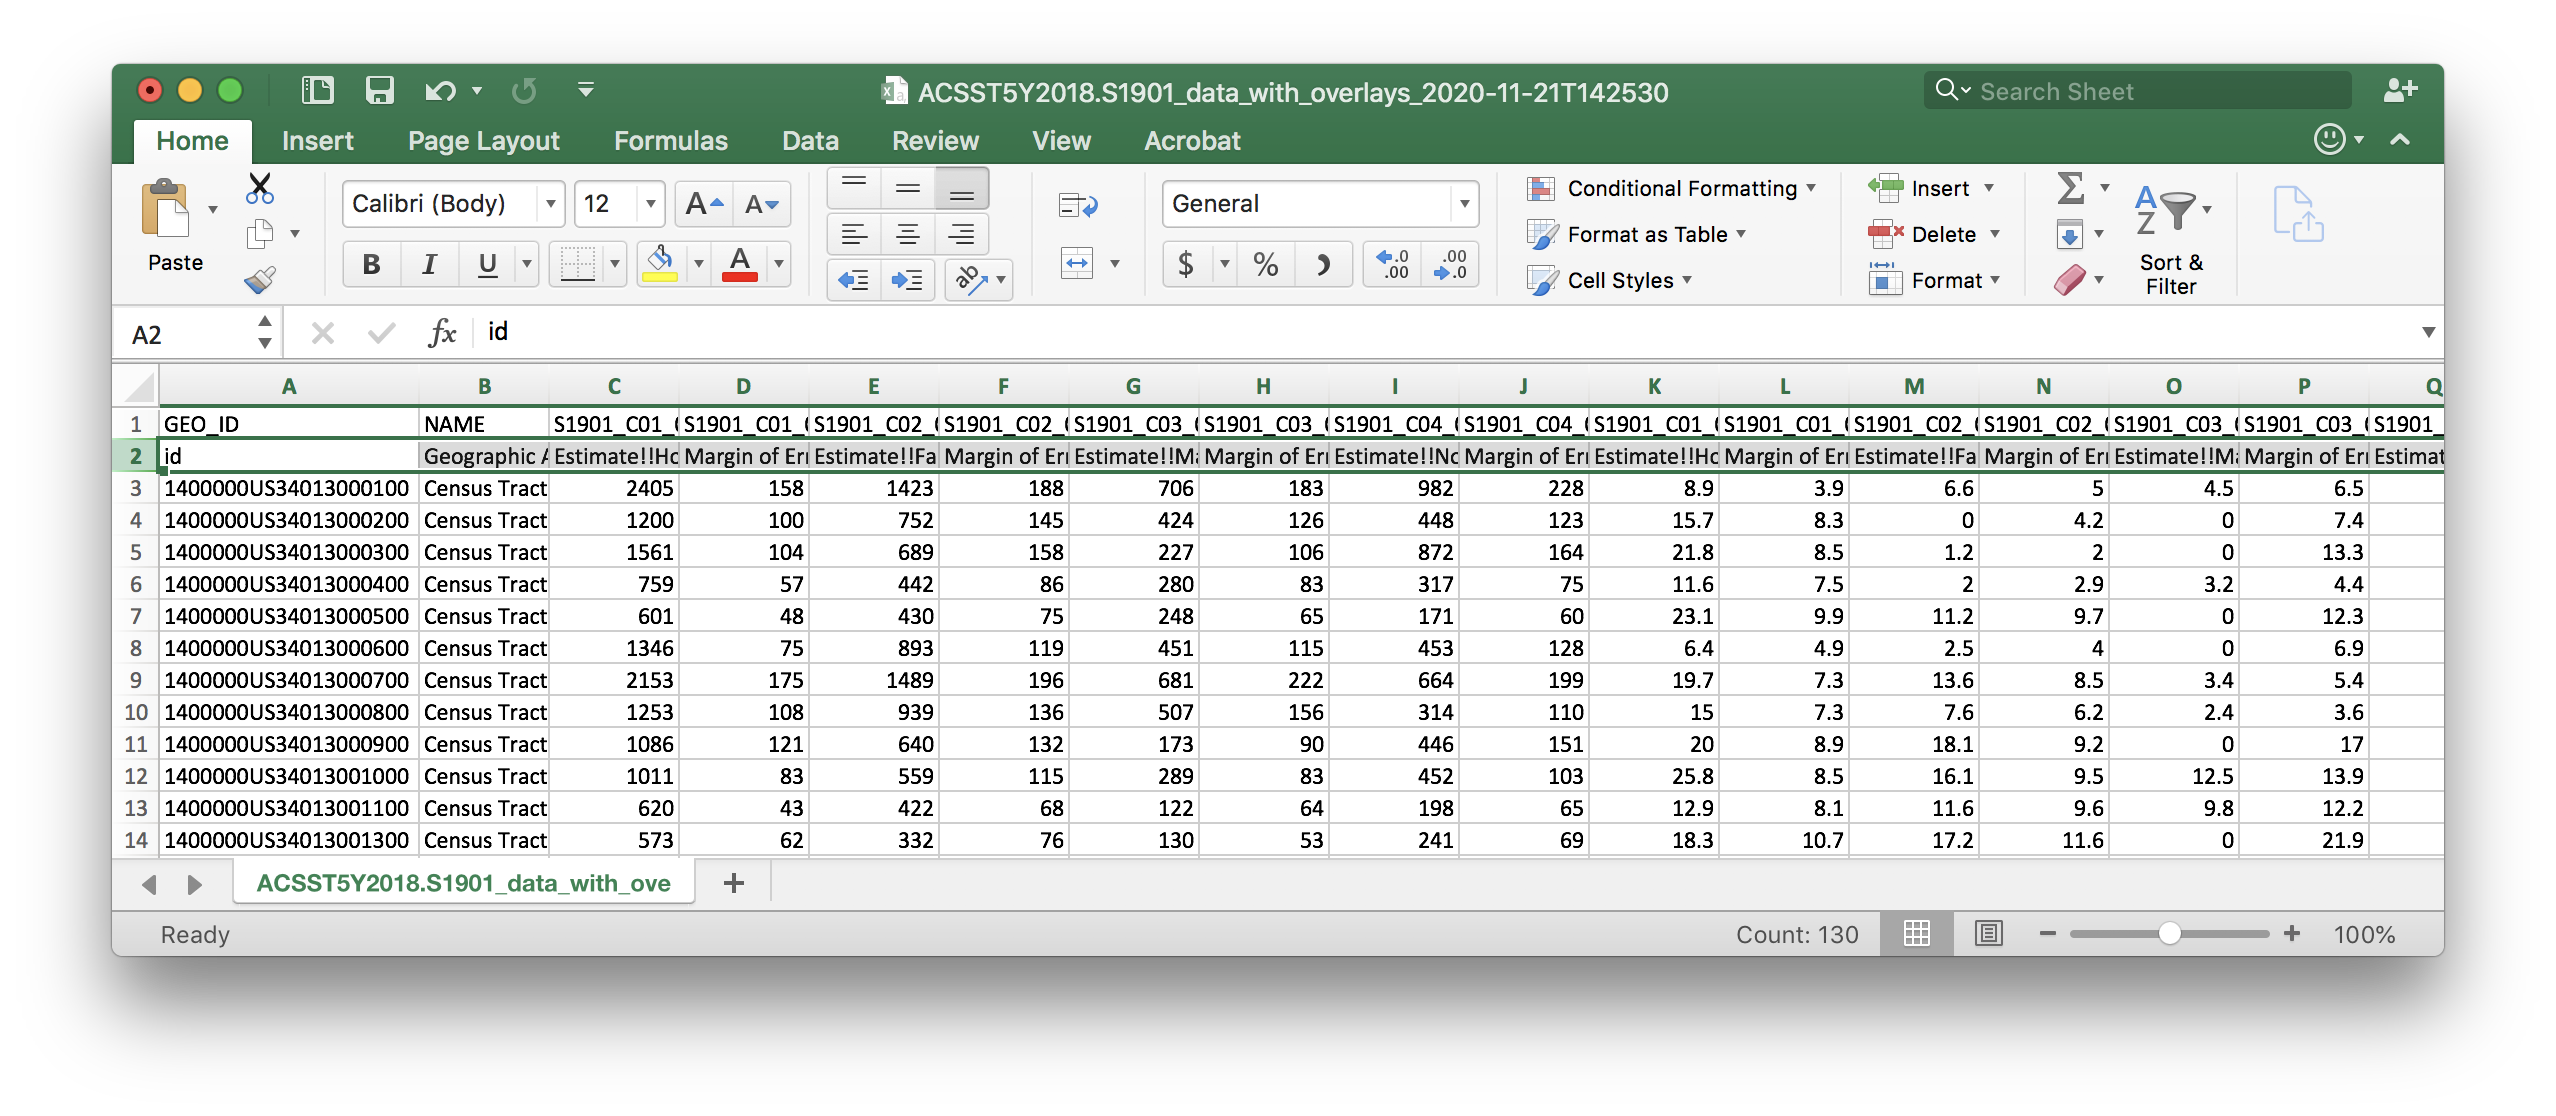
First delete the 2nd header row.
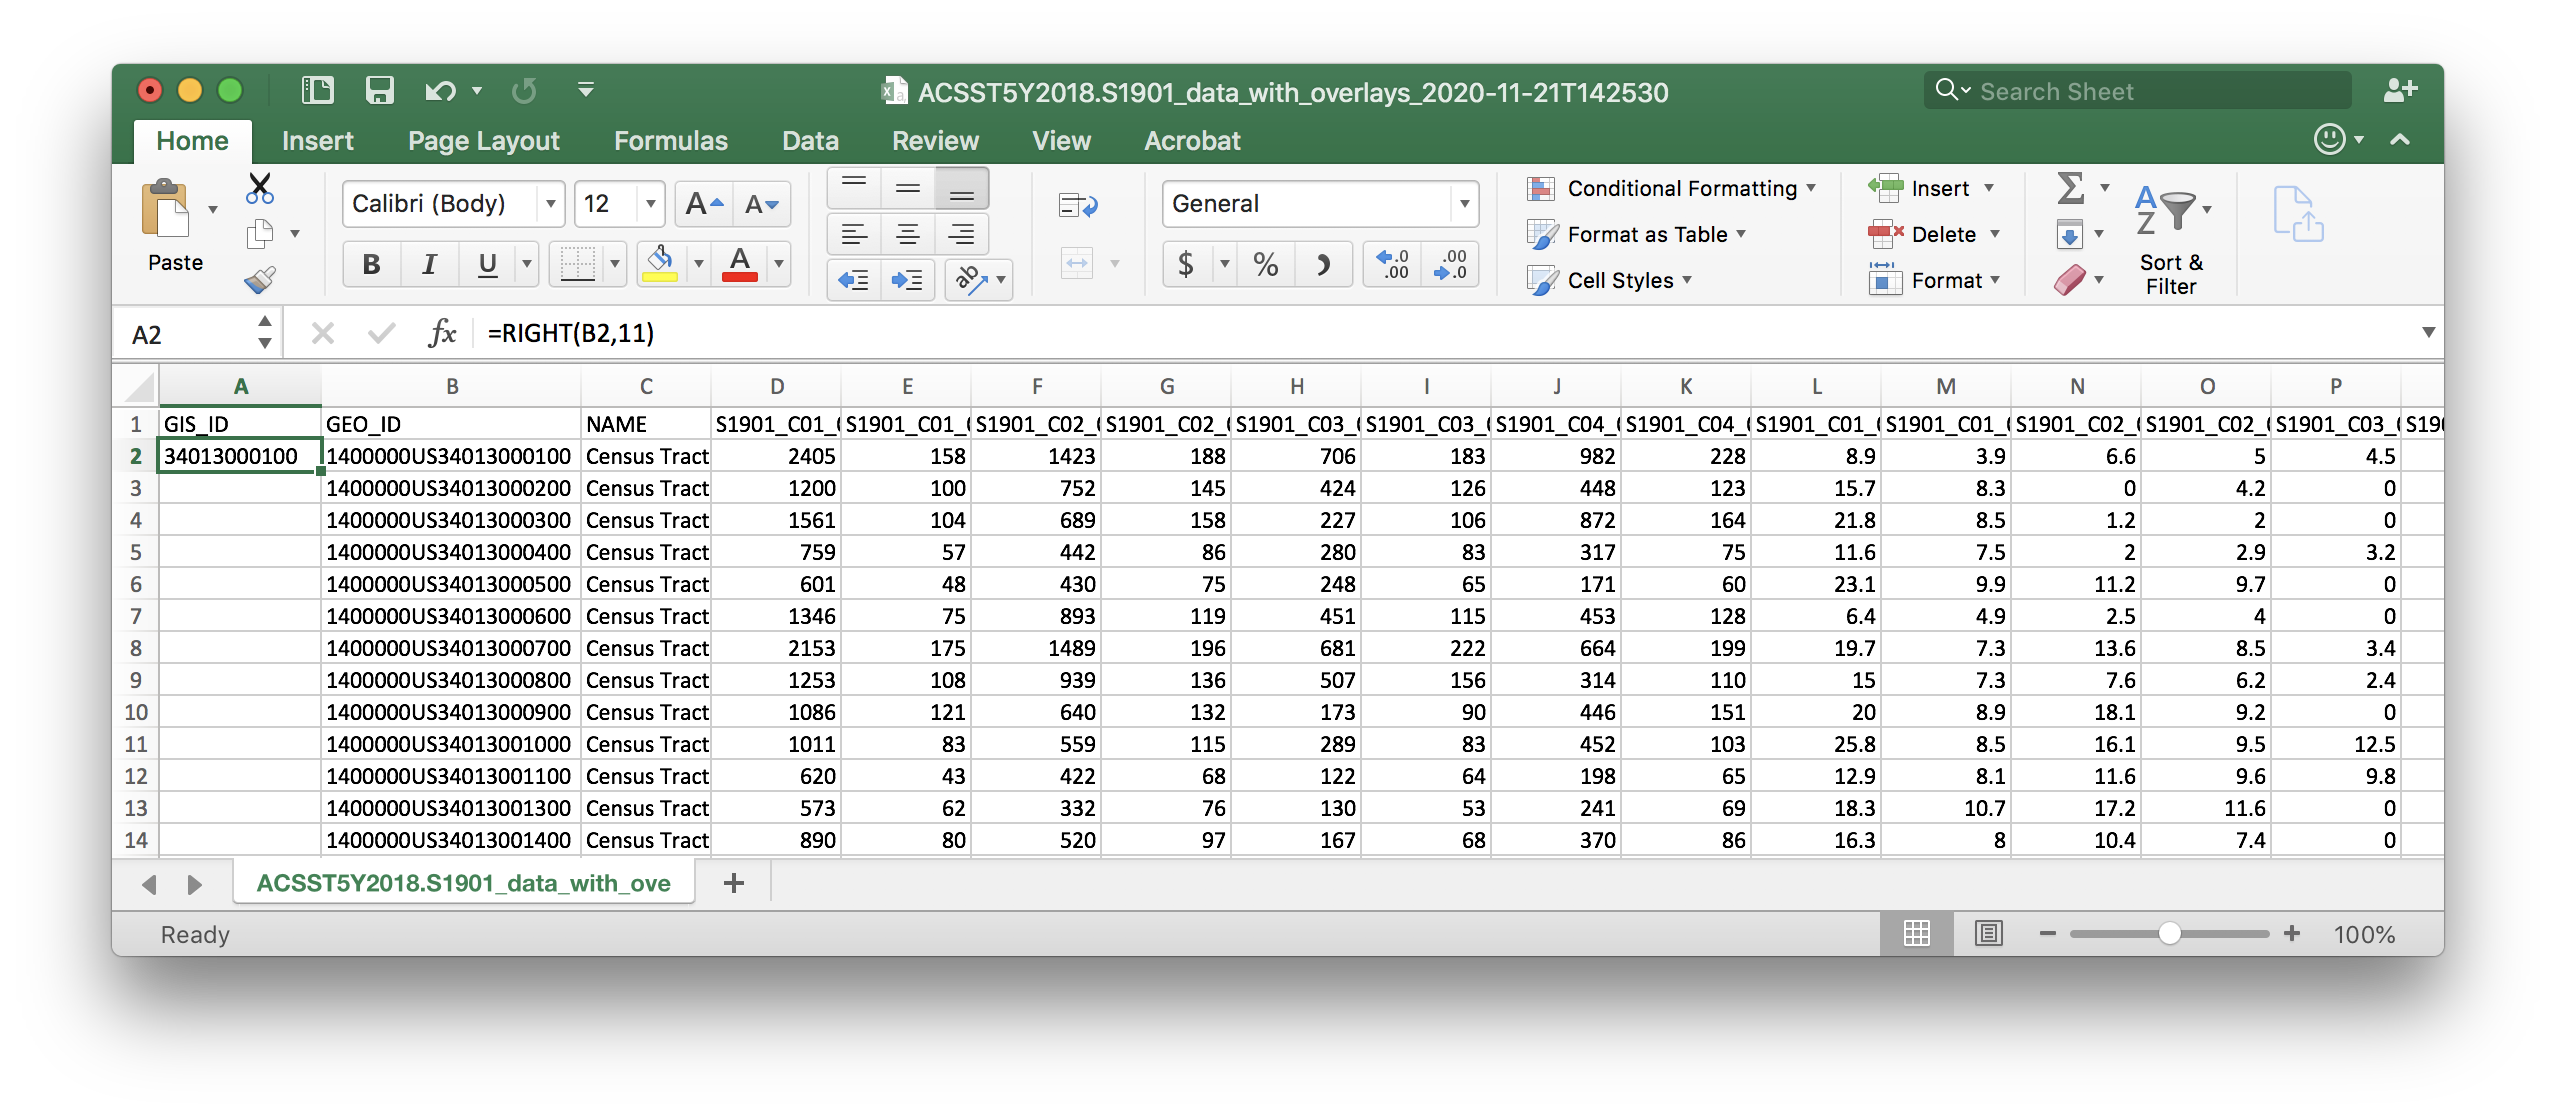
Then create a new column next to column A for your new geographic identifier that will match the format of the GEOID field in the census boundary files. Name it GIS_ID.
In the cell in the second row of this column write a formula that selects the all of the digits to the right of the US in the GEO_ID column. In this example because we are working with census tracts this is 11 digits (if you were using census blocks it would be more). When in doubt refer to this guide for the correct format for geographic identifier fields when working with census geographies.
Using excel this formula is =RIGHT(B2,11). This will be slightly different for google sheets or any other program. Note you can also do this in QGIS using the field calculator.
Double click on the bottom right corner of the cell where you entered the formula to copy it down for all rows of the dataset.
Save a copy of the csv file (make sure you save it as a csv file).
Table join
Add the csv file containing your tabular census data to your QGIS project.
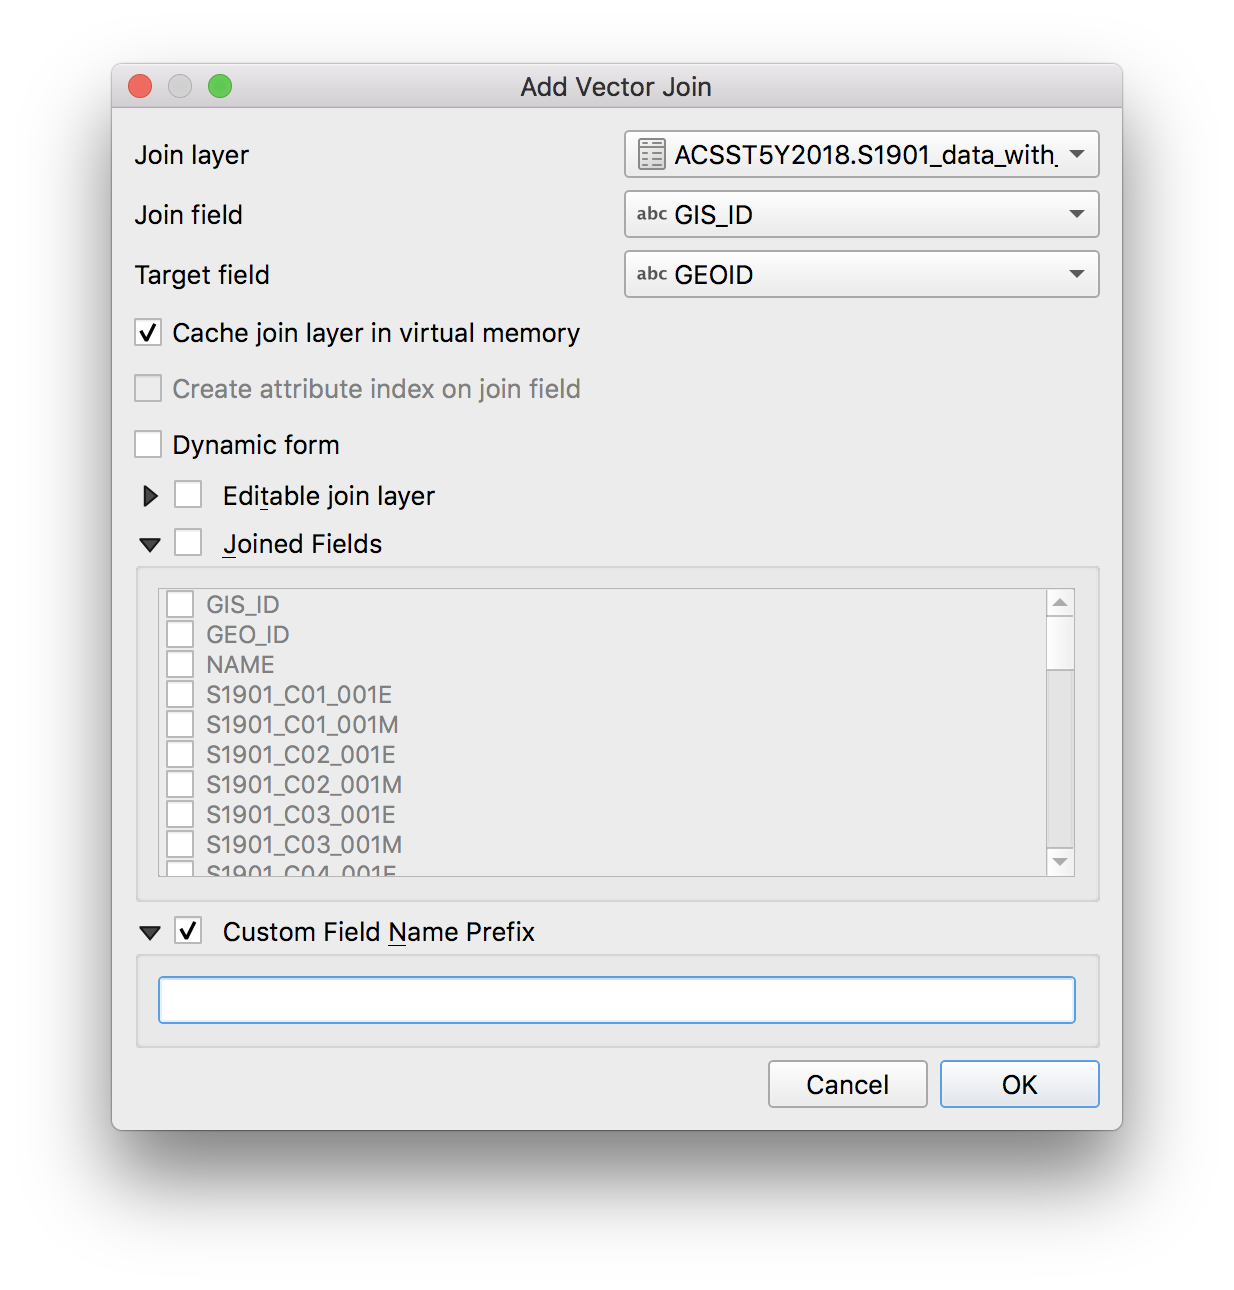
Use a table join to associate the tabular census information with the census boundary file for Essex County. Initiate the table join from the Essex County census tracts (by opening the layer properties for this layer and then selecting the joins tab). Then define a table join based on the GEOID field in the census tracts layer and the GIS_ID field that you just created in the tabular dataset.
Open the attribute table for the Essex County Census tracts to be sure it joined. Then export the layer as a new shapefile (or geojson) to make the join permanent.
You have now downloaded and prepped census data to work with!